Friday, December 16, 2011

Wizards and Warriors: Adventurers in Wood


Inspired by the Lewis Chessmen, these toy wizards and knights are lots of fun to carve. They stand best when given a generally conical shape, and I try to keep everything smooth and blunt in order to protect them from rough hands. Kids like to throw these little guys, and they've proved to be tough and resilient.


I've been thinking of going a little more adult with these figures. A little red on a sword blade, maybe some battle scars to show age and grit.

Carving the Toy Horse's Mane


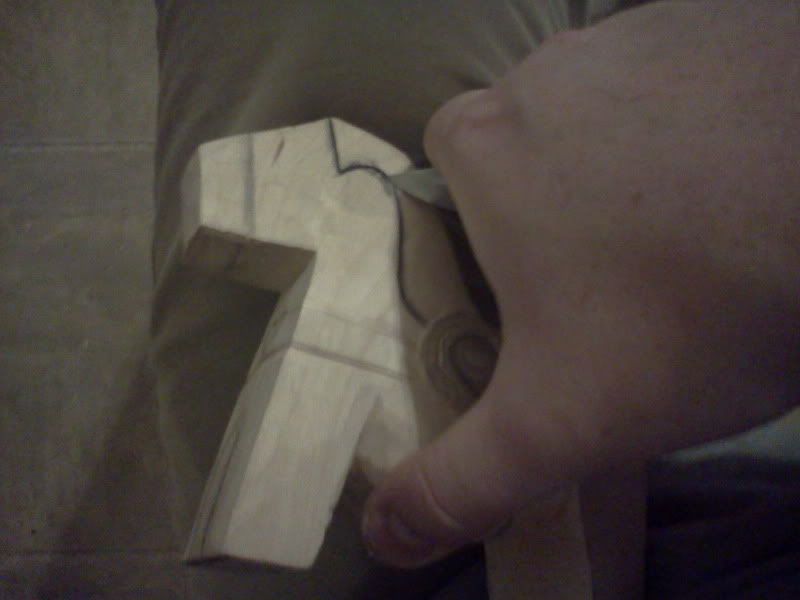
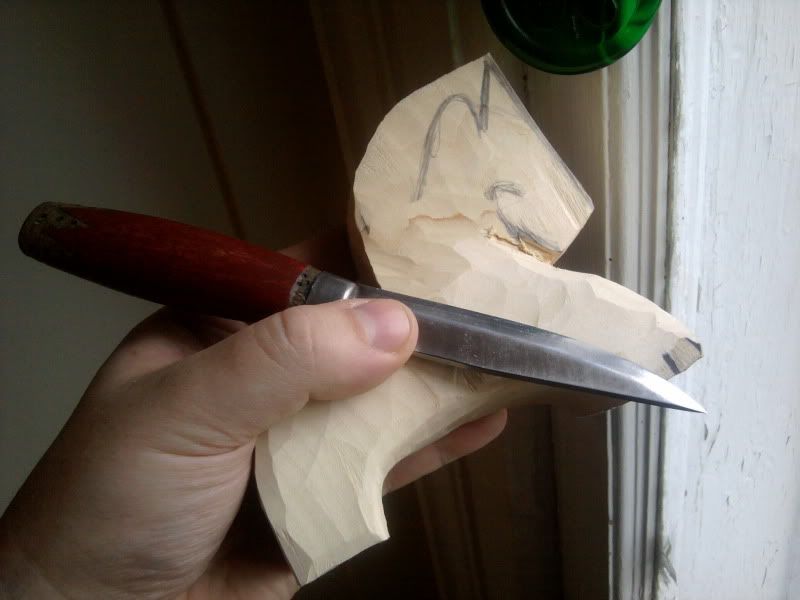
By reader request, here's a look at how I carve the mane for my toy horses. I start by outlining the border with a pencil, then go over it with a black Sharpie marker.

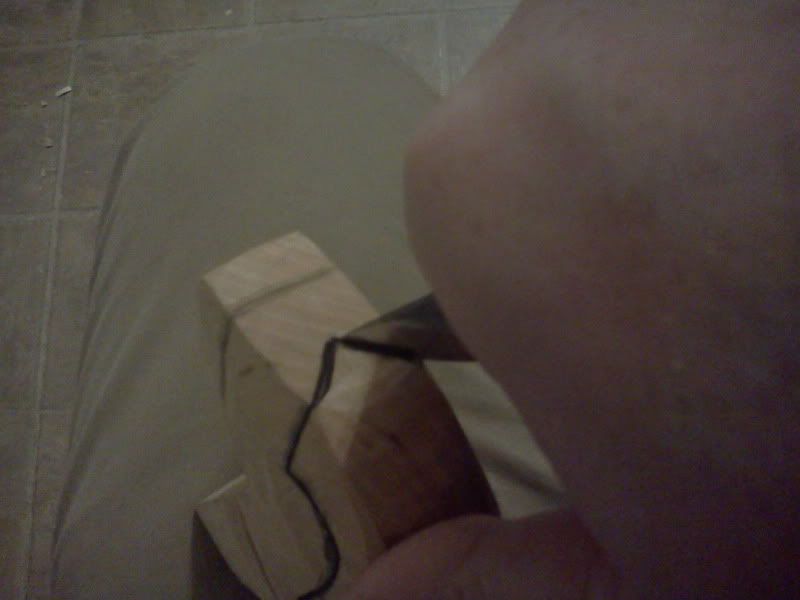
Next, I make a stop cut all along the border. In doing this I use only the tip and lead portion of the blade. On pocket knives this is mostly a natural grip, on larger fixed blade knives such as the Mora, this requires a higher grip that pinches the flat of the blade.


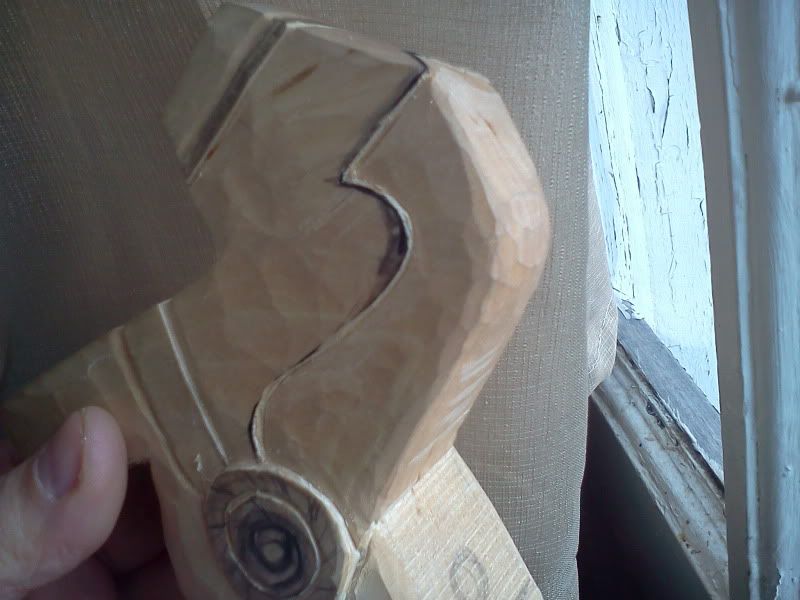
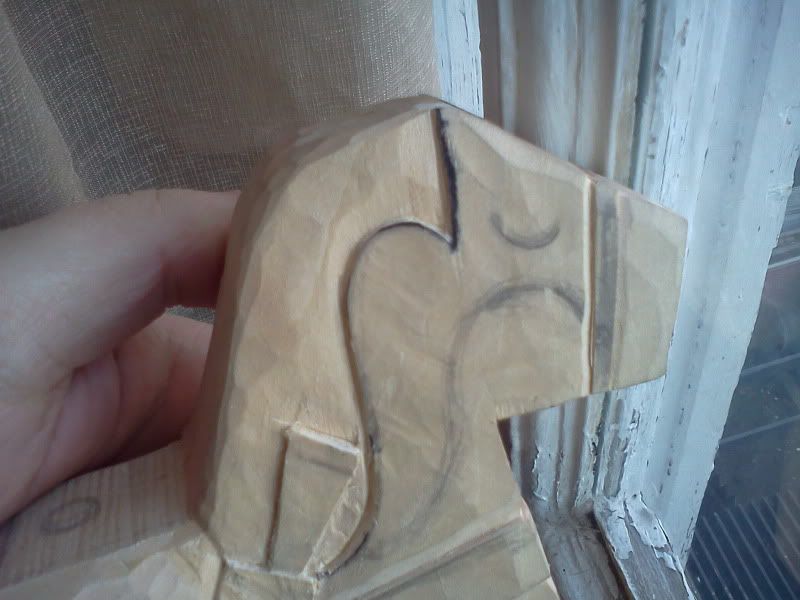
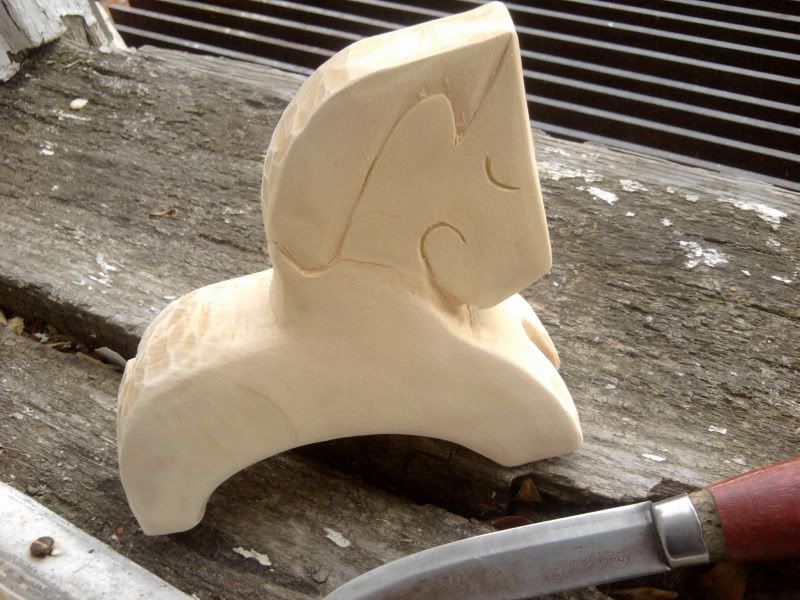
Now I shave up to the stop cut. The depth is subtle, no more than about 1/16", and results in the mane area being lower than the neck and body of the horse. At this point I usually go through and clean up any "fuzzies" and try to make sure the lines are straight and even.


Stop cut/shave towards cut is a good way to remove material in a controlled manner, especially if you're only using a knife. Specialty tools can be used, of course. In fact I'll often go through during the clean up phase and run a v-tool or gouge along a cut. Then again I think pure whittling is done with a knife, so your experience may vary depending on personal preference.


On a side note, I'd like to suggest you check out the Belfast Bushcraft Blog. Great photos, updates, and wilderness observations from an Irish outdoorsman.

(sorry for the delay, Abo!)

Saturday, November 26, 2011

A simple candy cane ornament


When carving the candy cane ornament, I'd advise you take special care on the inside section. If you rush it, or try and force the inside curve, you'll risk it splitting along the grain and clear through the arch, ruining the carving. I find that gentle removal of material from one side then the other is a safe way to go.

I finished this one with a little linseed oil, then filled the diagonal cuts with a wash of red paint. When it dried I sanded off the excess, pushed in a brass eyelet, gave it a light spray of shellac, and the ornament was complete.

Wednesday, November 23, 2011

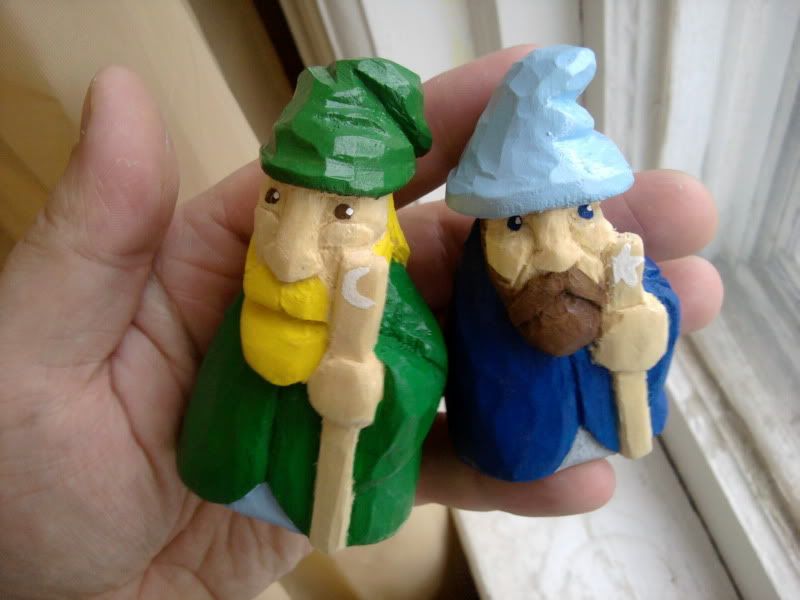
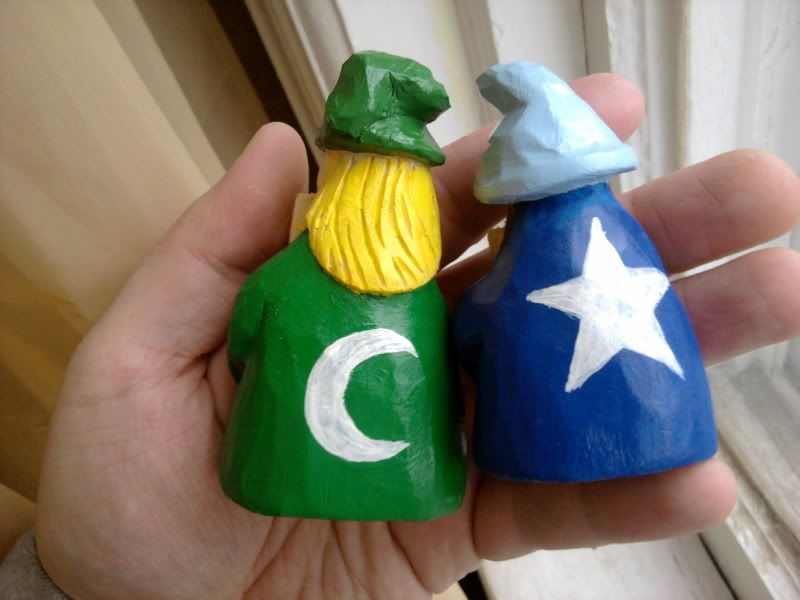
Little Whittled Wizards


Little whittled wizards. Now say that five times fast.

These guys are around the smallest wizards I've carved, and the smallest figures not counting spike trolls. They are hand carved, sanded, and painted. I finished the with a few thin coats of shellac.

Are they gnomes or possibly dwarves? I'm not sure. But they look eager to start adventuring, as long as I carve a fighter to accompany them on their journey. I'm sure they'll appreciate the extra muscle when it's time to haul back some treasure.

Sunday, November 20, 2011

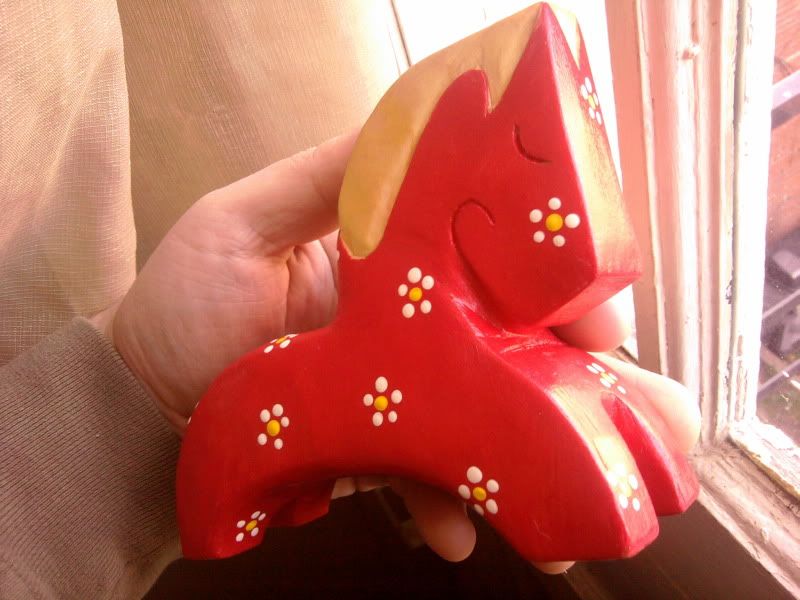
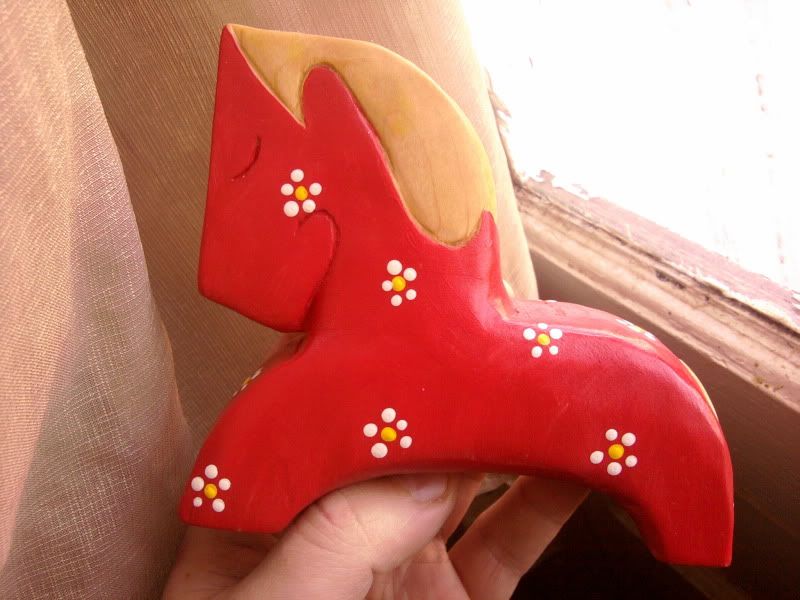
My latest hand carved toy horse


I'm really enjoying the current pace of my progress in whittlin'. I've made plaques, toys, and a whole bunch of Christmas ornaments. With a couple of shows on the way for motivation, things are moving right along.


This latest toy horse shows a slightly different style of mane. I'm trying a sort of "S" shaped mane with a forward slant. I feel this gives the design a look of forward movement, and a crisp but smooth line.

As you can see I've left the mane and tail unpainted on this one in order to show off the wood. As always with the toys I carve, everything is play-safe and built to last.

Friday, November 18, 2011

Hand carved Christmas tree plaque


Continuing my carved wooden plaque series, here's a classic Christmas tree complete with ornaments and presents. I liked it before the painting, but it really pops now that it's all finished. Hey, I even put one of my toy horses in there!

Wednesday, November 16, 2011

Hand carved Dala Horse plaque


I picked up some wooden plaques at a second hand shop for about 25 cents each, a great bargain. You can see the first plaque here, which I carved with my take on the Swedish dala horse.

A light coat of linseed oil gives the wood a nice warm glow, and seals the wood in preparation for the acrylic paint. Two coats of shellac protects the finished carving.