Showing posts with label mora. Show all posts
Wednesday, October 17, 2012
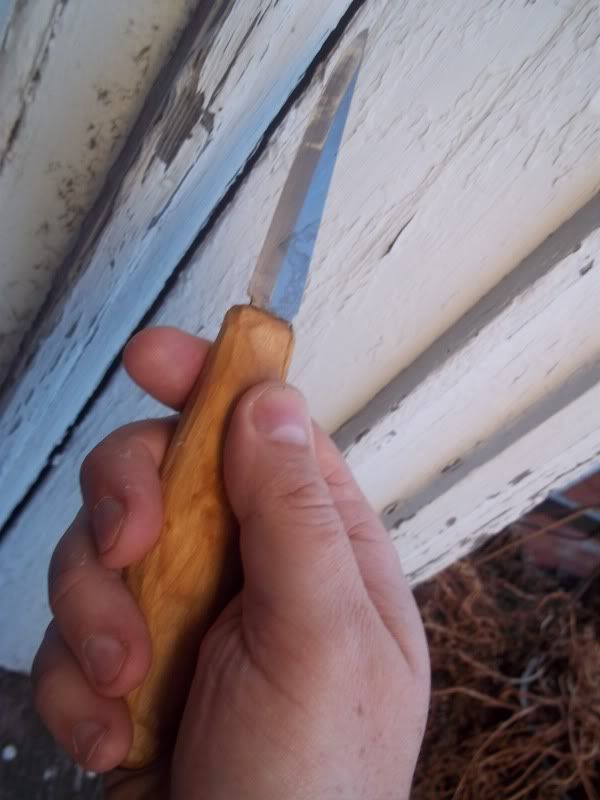
A little green paint, and my new whittlin' knife is all done!
Oil paint can take a while to dry, but I'm very happy with how this turned out. I hit the high areas of the knife marks with some sandpaper, giving the paint a time-worn look. A thin layer of shellac protects the paint nicely.
Monday, October 15, 2012
WIP: Salad Serving Utensils
For this project I'm using my Frost's Mora crooked knife, and my little Brusletto whittler. Both utensils are from the same piece of birch, which accounts for the identical sway in their handles.
Labels:
birch,
brusletto,
crooked knife,
mora,
salad tongs,
spoon
Friday, October 12, 2012
Taking my newly-handled whittlin' knife for a test drive
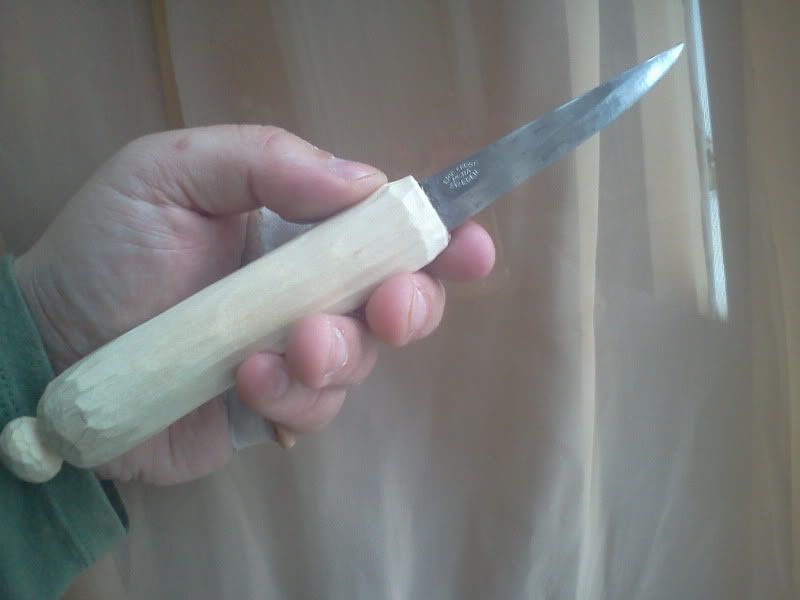
My new knife carves beautifully. Mora blades always sail through wood, and I'm pleased with the handle I carved and fixed to the steel. The blade is set straight and strong, while the handle is nice and comfortable. I've experienced no hot spots, and no "dangling pinky" effect, since this handle is longer than most. Next I plan to give the handle some color with a little oil paint.
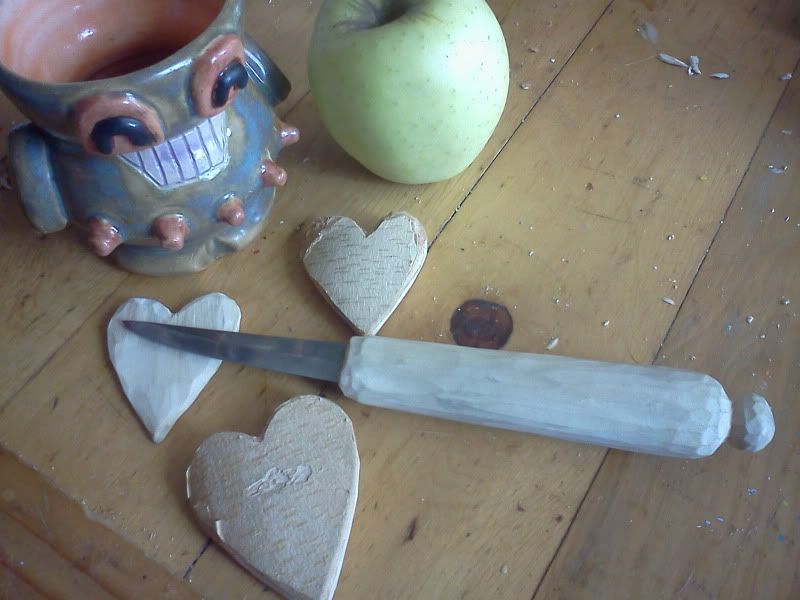
For a test run, I carved some hearts(while my MereWere robot coffee mug looks on.) The wood used is birch from the same piece as the knife's new handle.
Monday, October 8, 2012
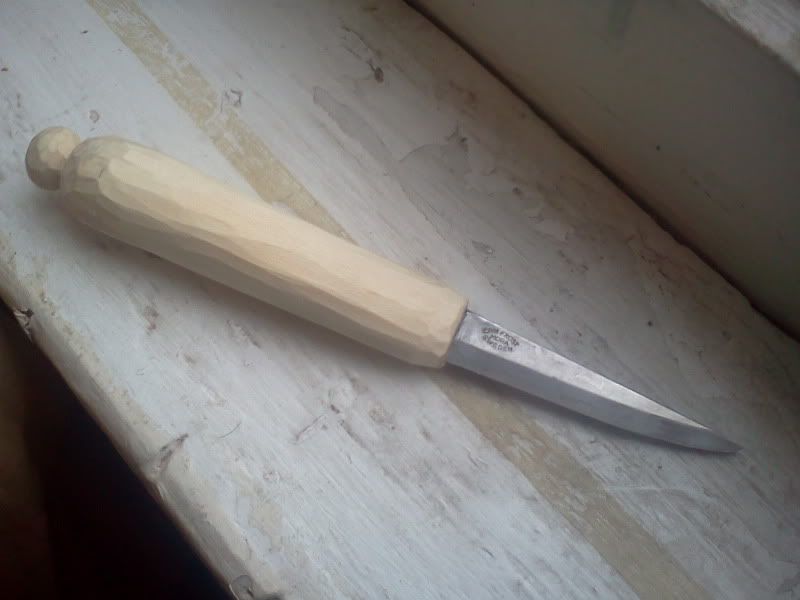
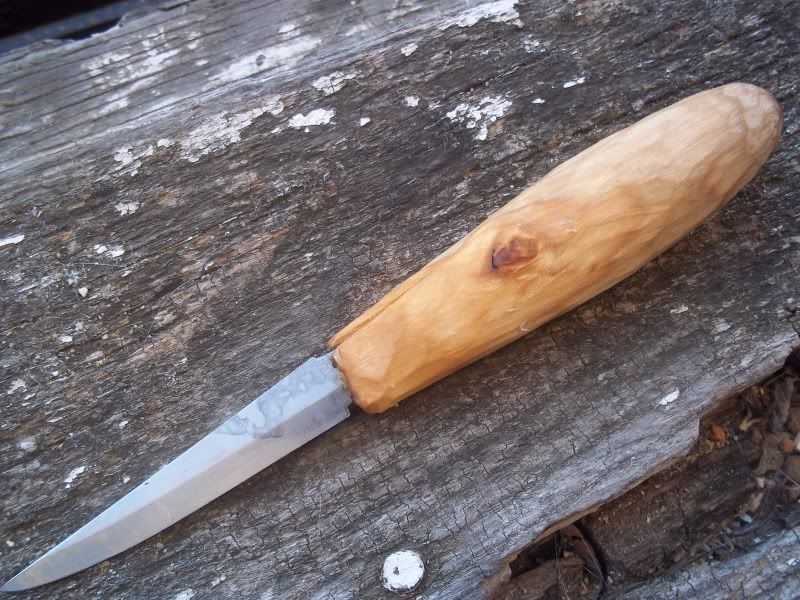
A hand-carved handle for my carving knife!
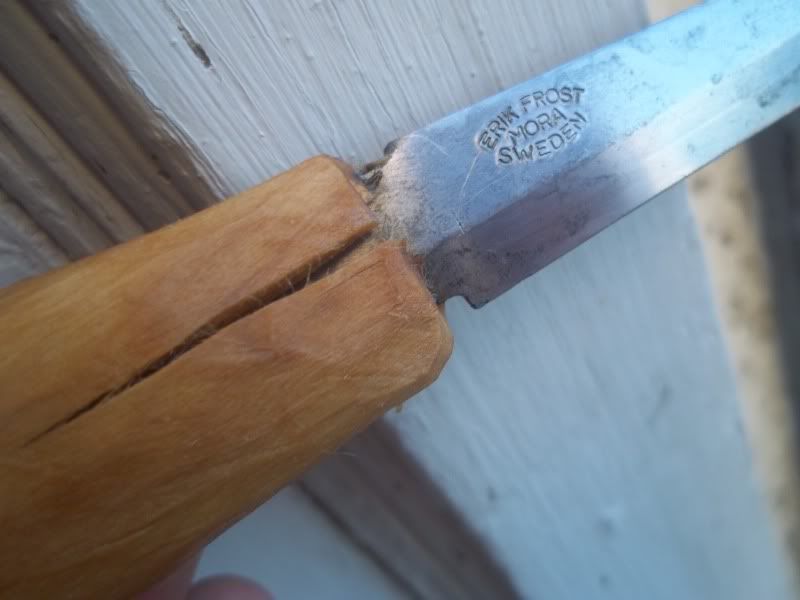
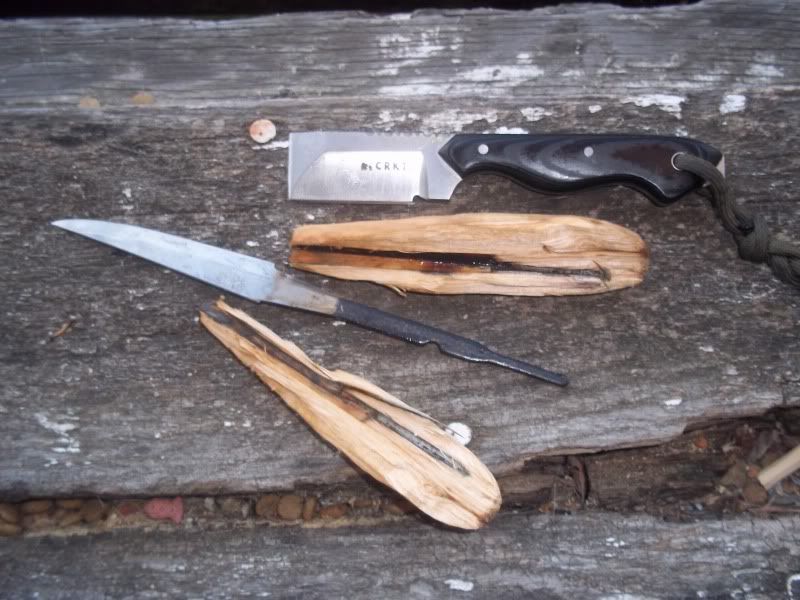
Here's my second attempt at giving this blade a handle. The first try, seen here, was a failure.
The wood is birch, donated from my a tree in front of my parent's house. The steel is a Frost's Mora, purchased from Ragweed Forge.
I made the handle more substantial this time, both wider and longer, while retaining a neutral shape which gives the opportunity for a variety of grips. Plus, the longer handle gives me more room for a full grip when doing hours of full-arm cuts (aka spike troll carving!)
I've always wanted a carving knive with a longer handle, and here it is!
Tuesday, September 18, 2012
How to: Whittle some Spike Trolls
Spike Trolls (a rough translation of spiketrollet, aka "carved trolls"), are a quick and easy project for whittlers of any experience level. You get to try a variety of grips, practice your cuts, and make something cute out of material you can find anywhere.
Here's how I do it, step-by-step:
1. Start with a stick of green wood, as big around as your thumb. The base end should be cut flat enough to support the spike troll on an even surface.
2. Define the "hat" area by shaving up from the hatband to the top of the stick.
3. Shape the "hat" into a general cone shape, allowing for curves if you'd like.
4. Make a stop cut for the top of the "face." Shave bark towards this line to define the forehead area.
5. Complete the face area by carving a shallow notch up to the forehead stop cut.
6. Shape the "hat"as desired. I like to carve smooth notches representing folds in the hat.
7. Draw the face with a Sharpie.
8. Color the hat if desired. I use acrylic paints.
9. The final step, of course, is to make your new spike troll a buddy!
Labels:
acrylic paint,
birch,
face,
mora,
spike trolls,
teaching
Friday, August 31, 2012
Old time Whittler's tricks: cube in cage, with a wooden chain
Whittlin' really comes down to patience, experience, and skill, in that order. More than just about anything else, moving parts take special attention. It takes lots of tiny cuts in order to carefully remove certain areas, while preserving the parts you'd like to keep.
Whittling free-moving parts is very satisfying when it goes well, and a little heartbreaking when it does not. Break a link in your chain, and you might just discover a few brand-new curse words.
Labels:
ball-in-cage,
barlow,
basswood,
case,
case razor,
chain,
cube-in-cage,
hearts,
mora,
trick
Wednesday, June 13, 2012
Destroy it and start over!
Friday, December 16, 2011
Carving the Toy Horse's Mane
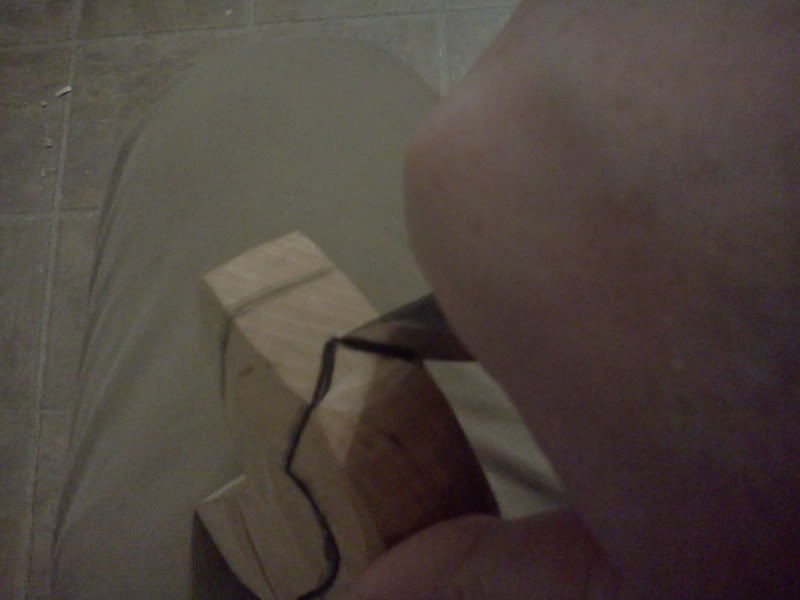
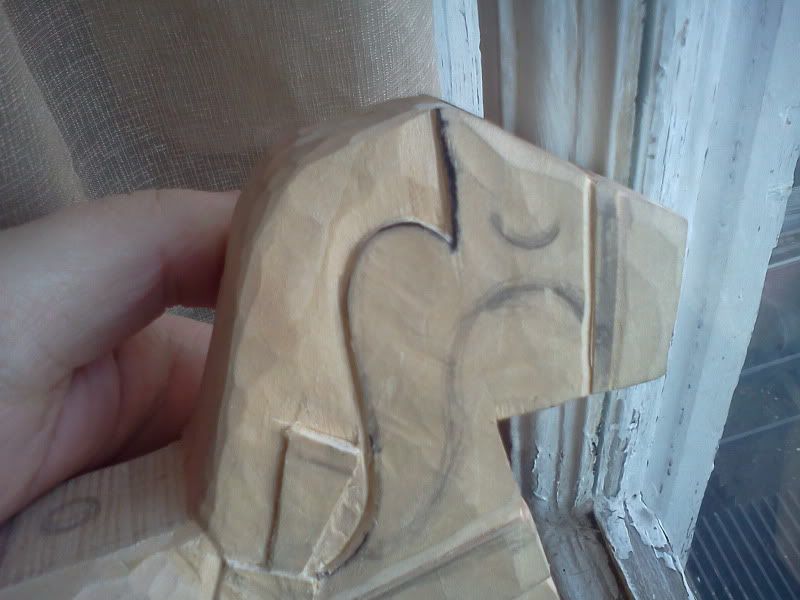
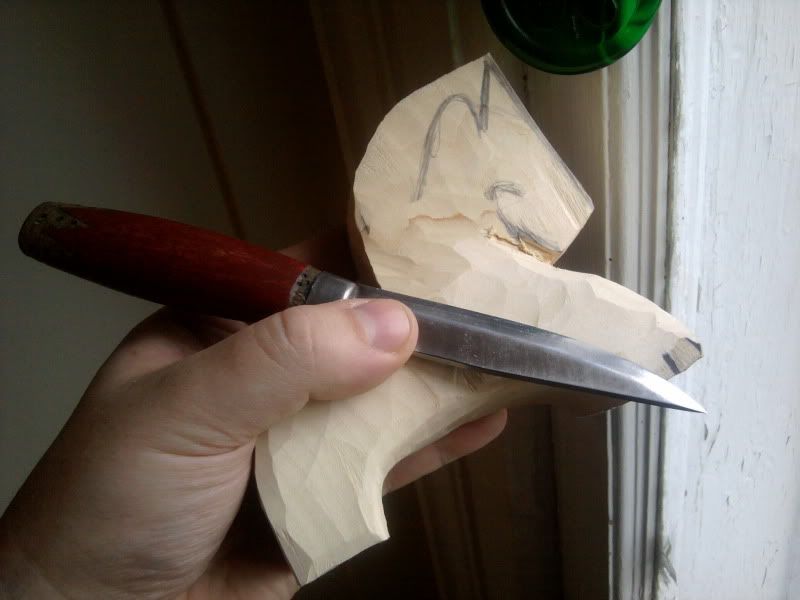
By reader request, here's a look at how I carve the mane for my toy horses. I start by outlining the border with a pencil, then go over it with a black Sharpie marker.
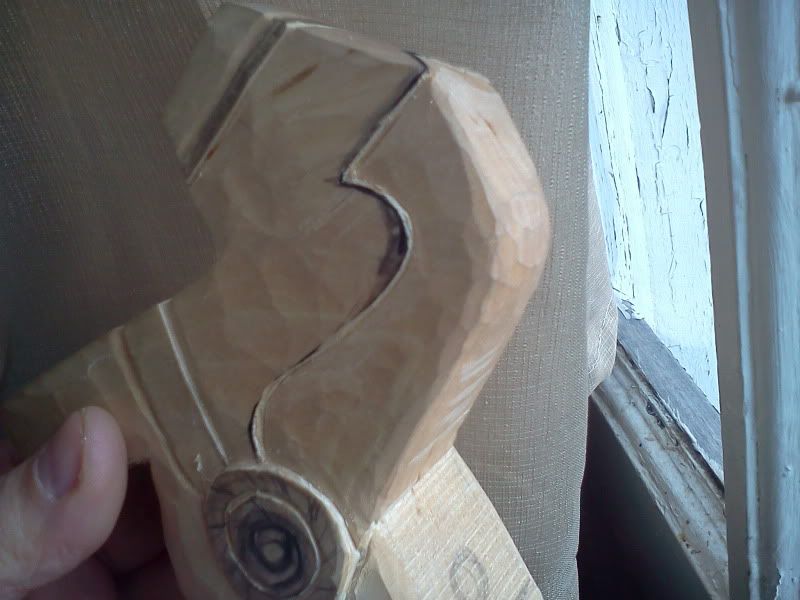
Next, I make a stop cut all along the border. In doing this I use only the tip and lead portion of the blade. On pocket knives this is mostly a natural grip, on larger fixed blade knives such as the Mora, this requires a higher grip that pinches the flat of the blade.
Now I shave up to the stop cut. The depth is subtle, no more than about 1/16", and results in the mane area being lower than the neck and body of the horse. At this point I usually go through and clean up any "fuzzies" and try to make sure the lines are straight and even.
Stop cut/shave towards cut is a good way to remove material in a controlled manner, especially if you're only using a knife. Specialty tools can be used, of course. In fact I'll often go through during the clean up phase and run a v-tool or gouge along a cut. Then again I think pure whittling is done with a knife, so your experience may vary depending on personal preference.
On a side note, I'd like to suggest you check out the Belfast Bushcraft Blog. Great photos, updates, and wilderness observations from an Irish outdoorsman.
(sorry for the delay, Abo!)
Sunday, November 20, 2011
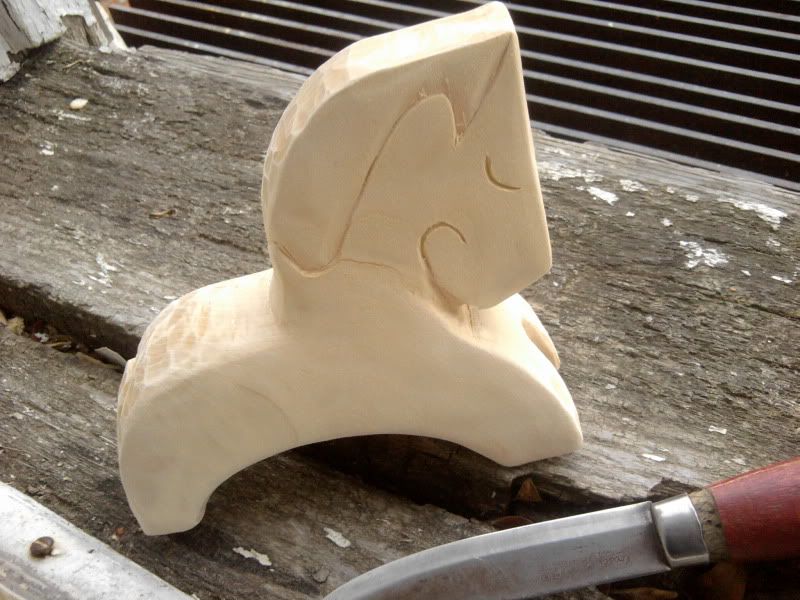
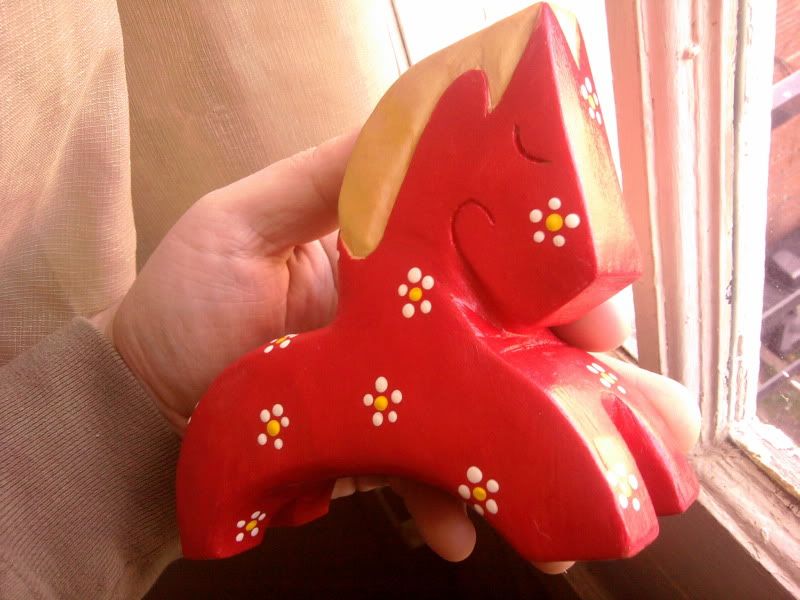
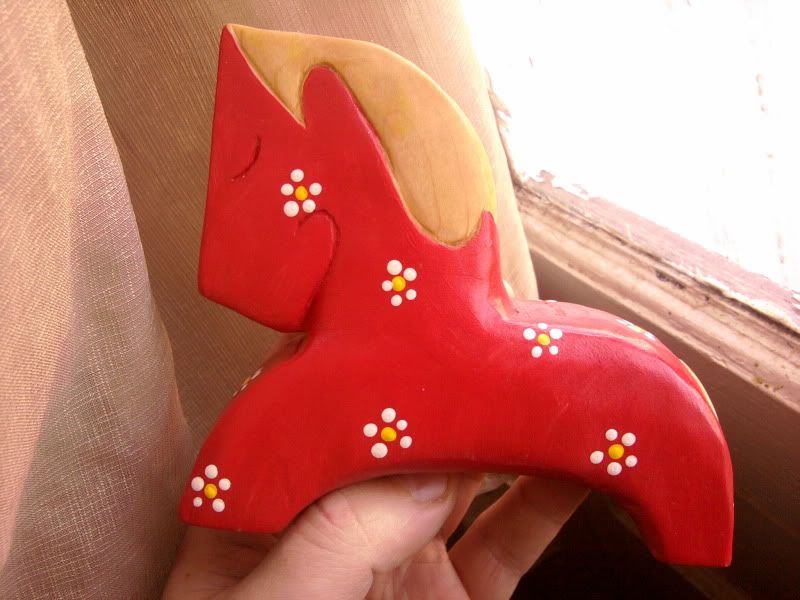
My latest hand carved toy horse
I'm really enjoying the current pace of my progress in whittlin'. I've made plaques, toys, and a whole bunch of Christmas ornaments. With a couple of shows on the way for motivation, things are moving right along.
This latest toy horse shows a slightly different style of mane. I'm trying a sort of "S" shaped mane with a forward slant. I feel this gives the design a look of forward movement, and a crisp but smooth line.
As you can see I've left the mane and tail unpainted on this one in order to show off the wood. As always with the toys I carve, everything is play-safe and built to last.
Labels:
acrylic paint,
basswood,
dala horse,
horse,
mora,
salad bowl finish
Monday, June 13, 2011
"Svanhild," my crooked knife
A crooked knife is just the thing for carving spoons, bowls, kuksas, and anything which requires a depression or concave shape. Mine is a Mora #164 full curve carving knife which I ordered from Ragweed Forge. The handle is plain wood, stained only by the dirt and perspiration that comes with use.
I made the little blade protector seen here. Tired and slightly embarrassed by my improvised sheath of cardboard and duct tape, the crooked knife demanded a proper home. I whipped this guard up from some scrap basswood and two small lengths of dowel, drilling the holes with a cordless Dremel tool. The hinge dowel, located upper left, is lubricated with a few drops of melted beeswax. The name and swan design were applied with a woodburner.
Labels:
basswood,
crooked knife,
ml knives,
mora,
ragweed forge,
svanhild,
woodburner
Tuesday, June 7, 2011
Maple spoon
Friday, June 3, 2011
"Freya," my drawknife
Whittlin' is done mostly with one knife, but there are times when a more specialized tool is called for. A drawknife makes shaving larger pieces quicker and easier, such as shaping the outside of a large bowl, or debarking a limb for a walking stick project.
My drawknife, affectionately dubbed "Freya," due to her her good looks and Scandinavian origin, is made by Frost's Mora and purchased from Ragnar's Ragweed Forge. It's handles extend straight out from the blade on either side, unlike traditional drawknives who's handles are mounted almost at 90 degrees. I find the Frost's style very comfortable and natural to hold, especially for longer carving sessions. I grasp both handles and rest my thumbs on the flat of the blade, then slice away long curls of bark and wood with a pulling motion similar to using a rowing machine.
Since it came without a sheath, I made a blade guard from some basswood (with the bark still on it!) and used a woodburner to apply her name. The guard fits snugly and she's never looked better.
Labels:
basswood,
drawknife,
freya,
mora,
ragweed forge,
review,
walking stick
Thursday, May 26, 2011
Wizard Walking Stick continued
Here's the wizard's beard, wrapping twice around the stick. You can see the hairs starting to develop. It can be fun carving these wispy beards, deciding which hairs curl up and which tuck underneath each other. I start at the top and work my way down as the beard "grows." This way I don't lose track of what strand goes where.
My woodspirits tend to be carved deeper than others I've seen. I'm not sure why that's the case, but I do take care not to carve away too much. I wouldn't want to create a breaking point in the stick.
Subscribe to:
Posts (Atom)