Monday, May 16, 2011

Raised Leg Horse


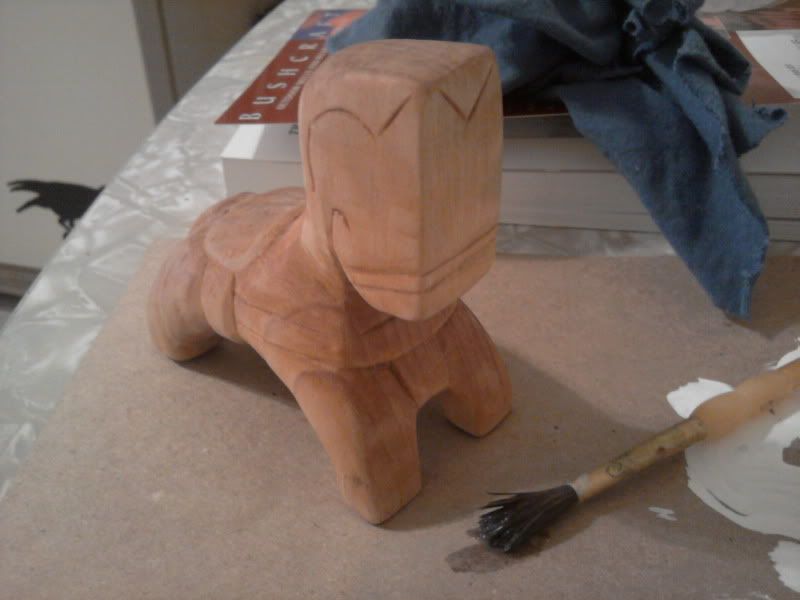
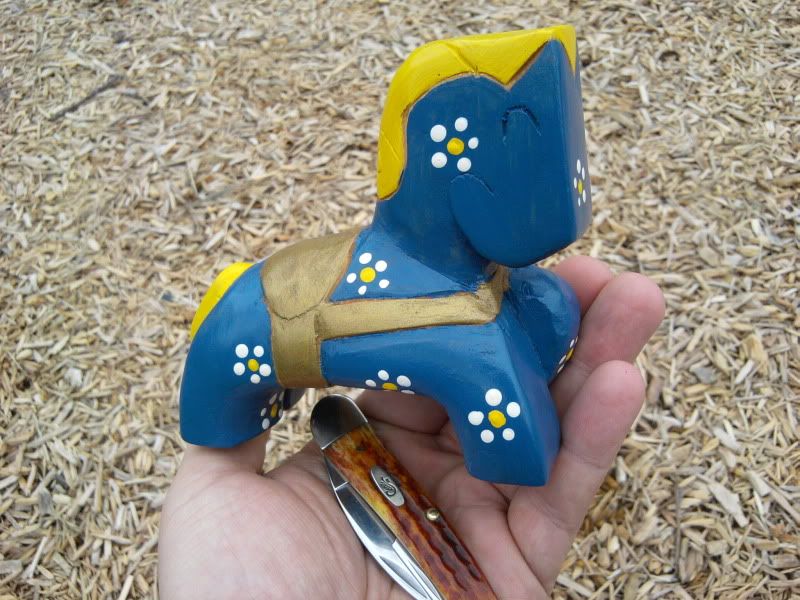
Here's one I'm really happy with. I've been sketching variations on my wooden horse design, looking for a way to give them the appearance of movement. One raised leg seems to accomplish this well.
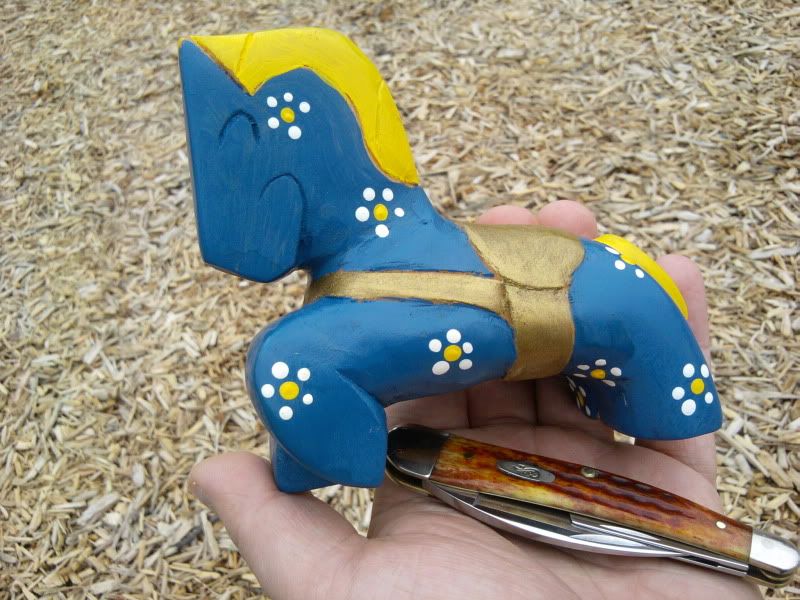


I made the other three legs wider to make up for the raised one, and shaved off a little more material from the left side than the right in order to balance it away from the weak side. It sits very well and is actual self-righting when tipped.
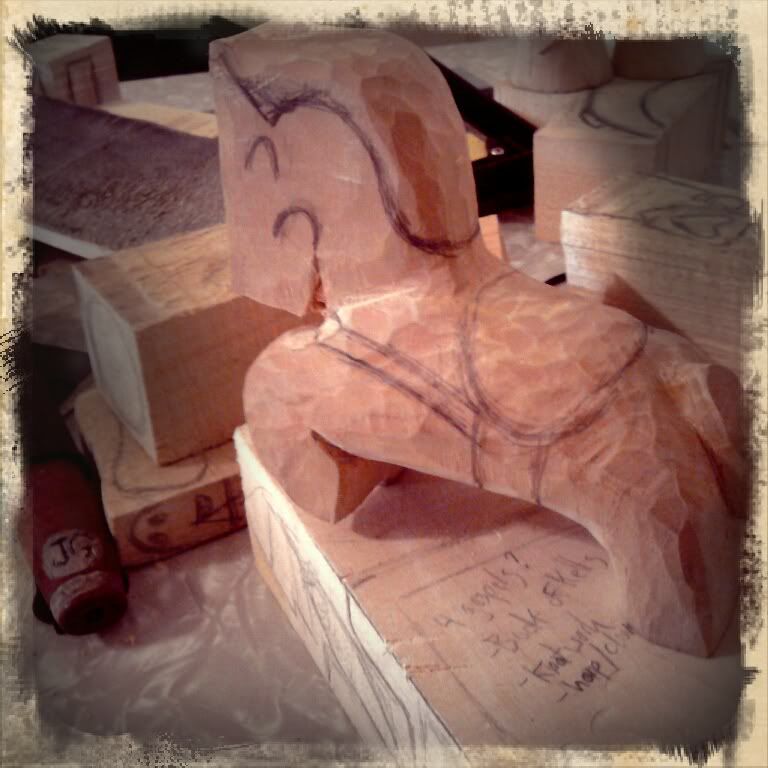
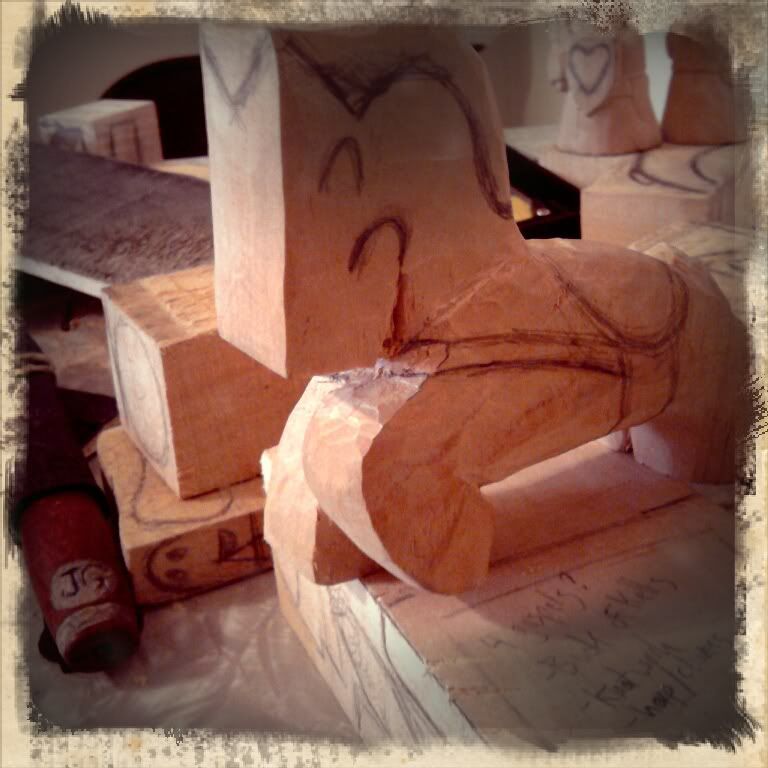


The funny thing is, under all the shellac and blue paint is three coats of salad bowl finish! It looked fine as a brown horse, but I changed my mind and felt like giving this one a little more pizazz. I think it looks great.

Blogger issues

Like many others, I have been affected by the recent Blogger hilarity. I've lost a post, that post's comments, as well as some upcoming posts I was working on in my drafts folder. Looks like I'll just have to go back and start over.

Tuesday, May 10, 2011

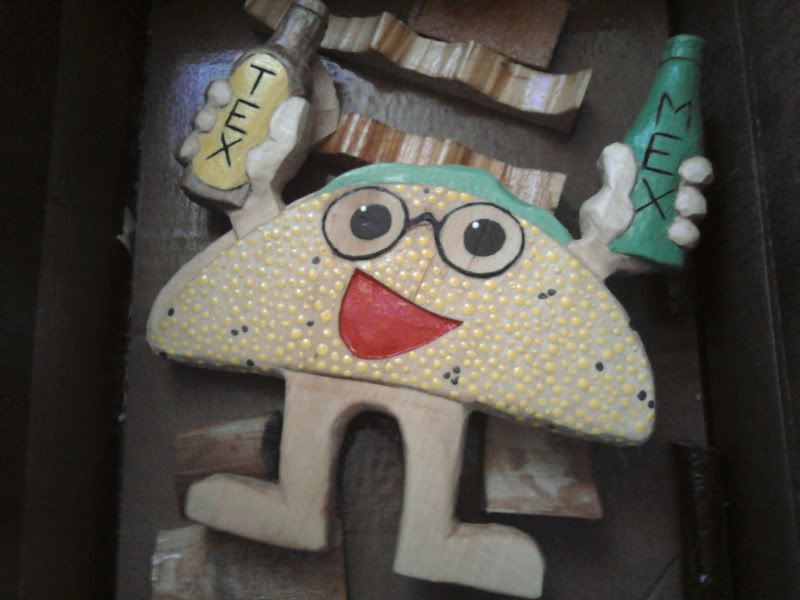
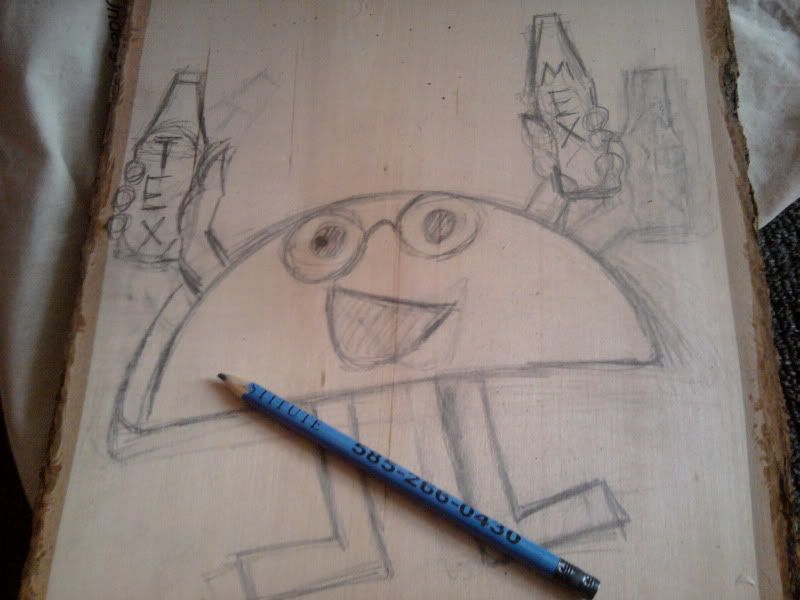
Tex Mex Taco Dude (repost due to Blogger boo-boos)


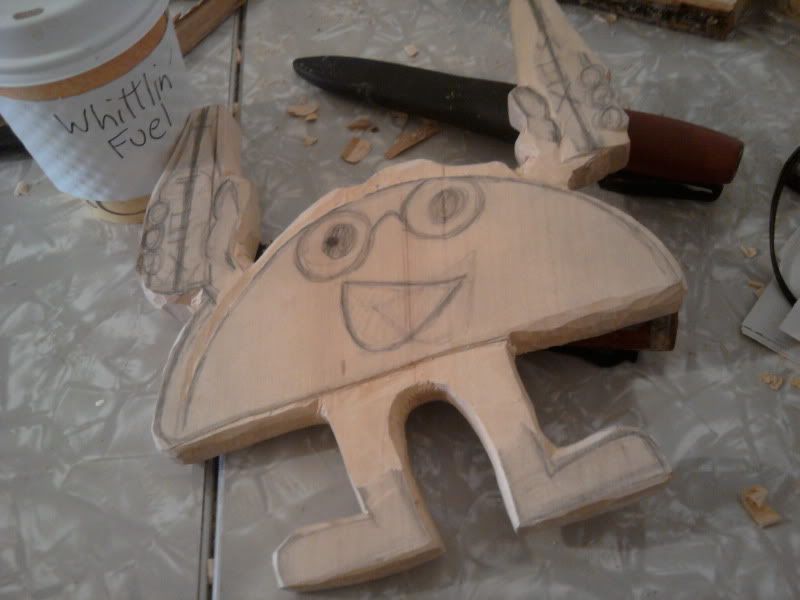
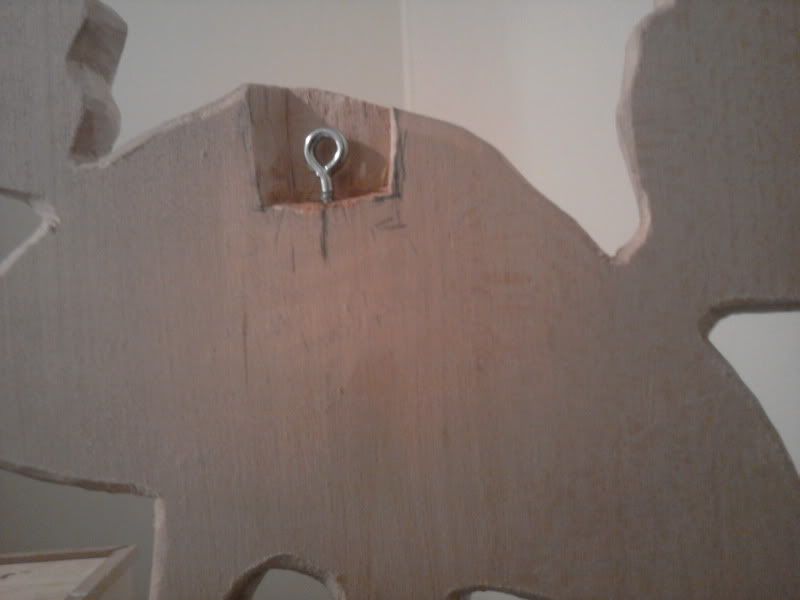
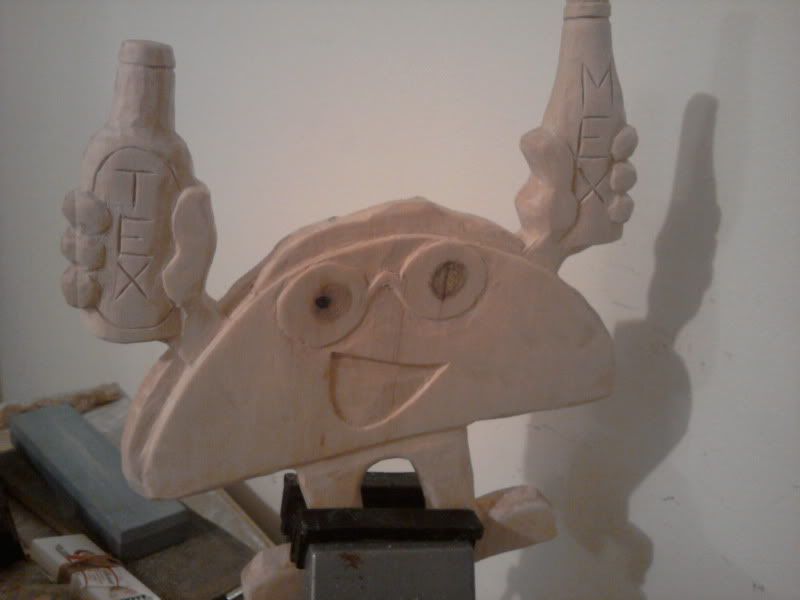
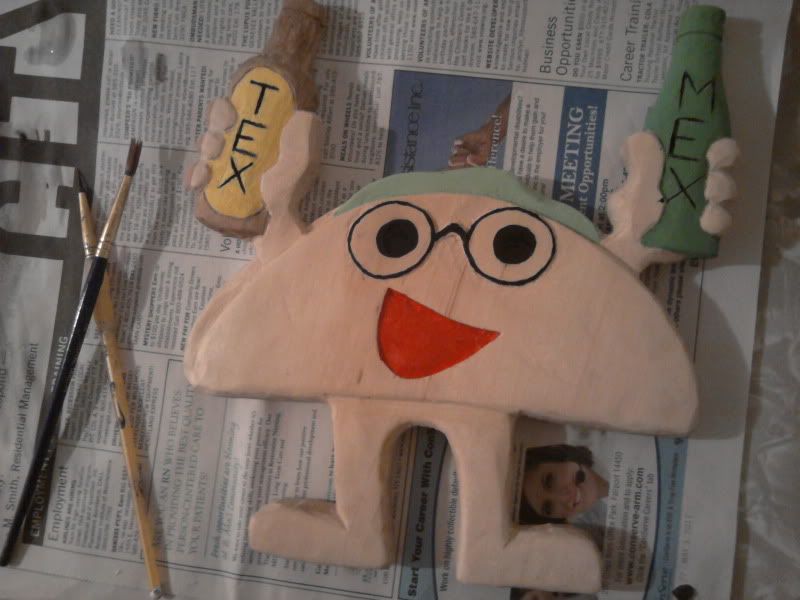
My friend's restaurant, John's Tex Mex, held it's 5th annual Cinco de Mayo bash and I carved up a little present to help celebrate the occasion. I call it the Tex Mex Taco Dude.


This year's Cinco de Mayo party was held on Mother's Day, making it an "Ocho de Madre" party instead. As always, it was a blast. The beer was cheap, the food was free (and plentiful), and we were surrounded by good friends. Congrats on 5 years, John!


Check out last years Cinco de Mayo gift here!

Monday, May 9, 2011

The Spoonface Gang


Whittling isn't limited to sticks found in the wild. I've discovered some fine imported "sticks" in the kitchen aisle of our friendly neighborhood big-box store. The wood carves well with no chipping or unexpected splitting, and when I'm done it's a neat little gift.


I also made a Santa spoon for a Christmas present, but forgot to take a photo! I'll have to ask my friend if she can send me one.

Friday, May 6, 2011

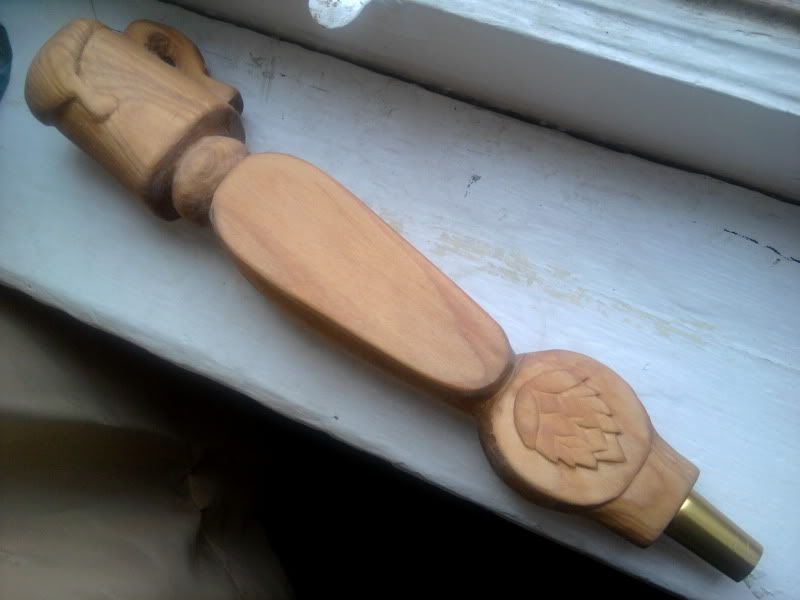
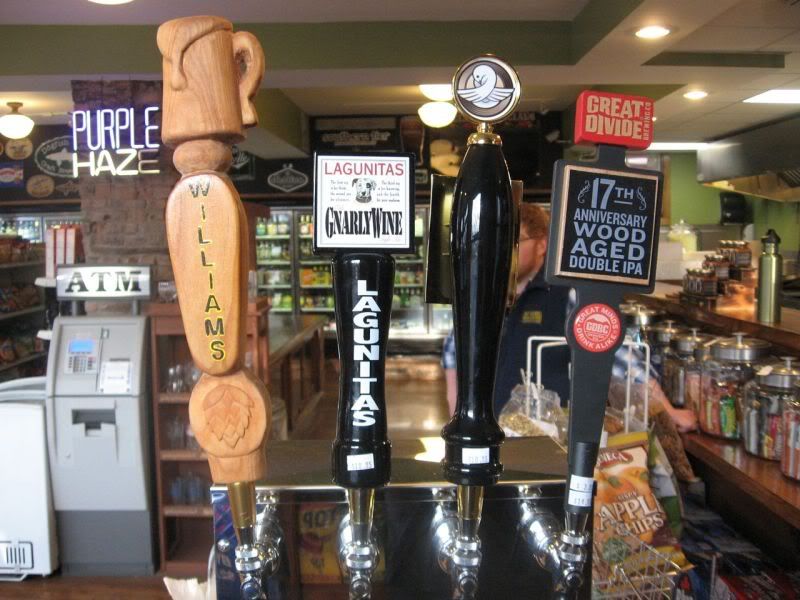
Custom Beer Tap Handle

I love custom orders, especially ones that give me a challenge. Some friends asked me to carve a tap handle for their brother-in-law, a beer hobbyist with a home tap system. Never having made one before and being wholly unfamiliar with how a tap handle attaches to a tap, I said "You bet!"


My friends specified that they wanted the name "Williams" painted on, but other than that I was free to carve whatever.

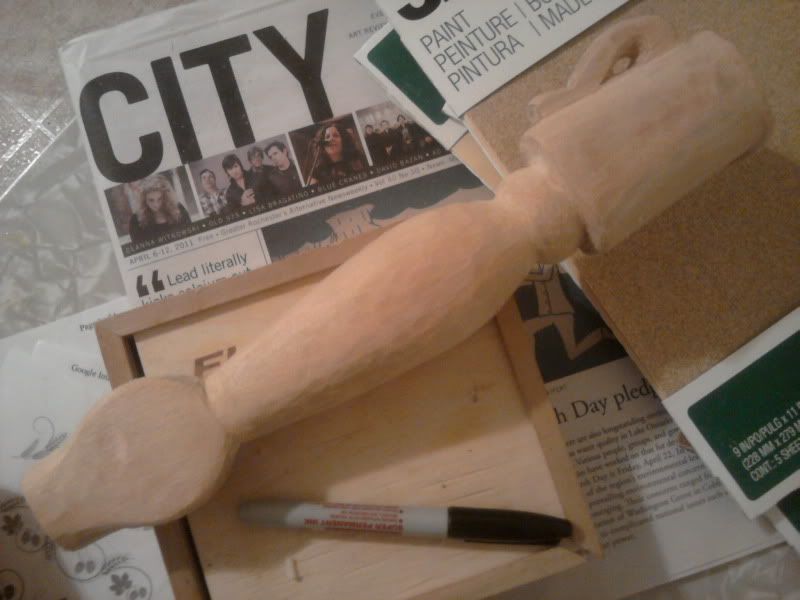
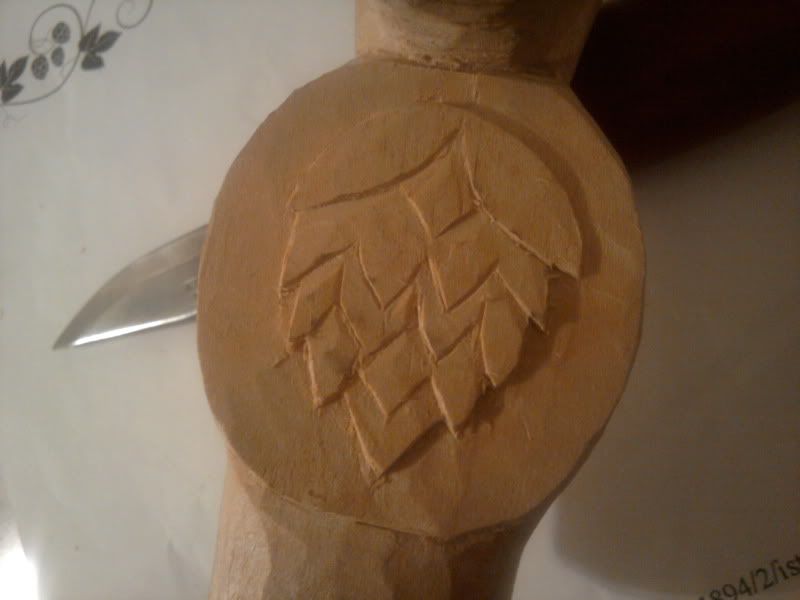
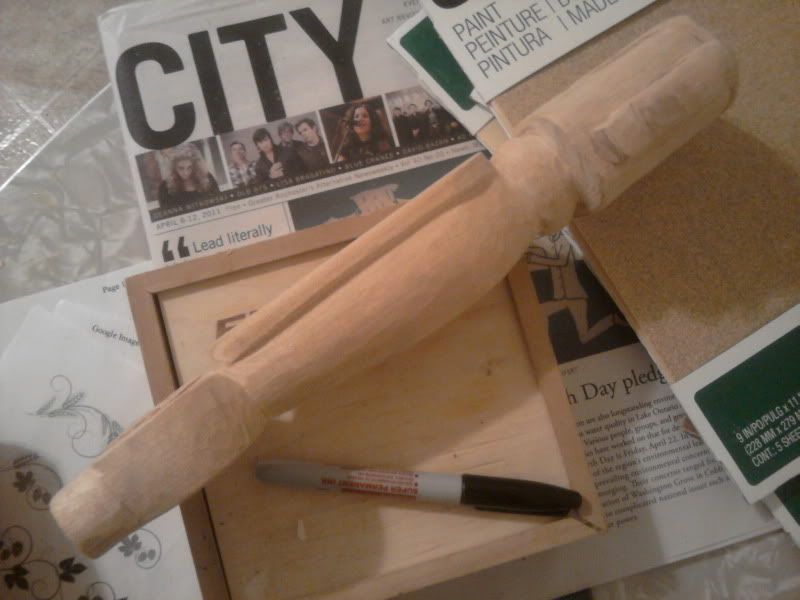
After some pencil sketches on paper, I selected a piece of wood and cut out the general shape with a coping saw. I envisioned a simple chair leg spindle for the body, with a frothy mug perched on top. Somewhere along the line the plan expanded to include a flat shield and a hop bud.


I opted to leave it mostly unpainted, preferring to let the wood speak for itself. I gave it four hand-rubbed coats of linseed oil and sanded it between each coat with finer and finer sandpaper. Finally it was buffed with a cotton cloth. The name on the shield was applied with acrylic paints and sealed with a few coats of spray shellac.

The brass ferrule is from Kegworks.com, as is the combination metal/wood screw with which to attach it. They have a nice selection of hardware for tap systems.

Wednesday, May 4, 2011

Larger Spike Trolls


Having scavenged some free branches from the side of the road (thanks Highway Dept!), I went ahead and whittled up a few spike trolls from the nearly wrist-sized wood. Give it a try yourself! Just shave a flat-ended stick to a point, carve a shallow notch for the face area, then draw on the face. Sharpie is my marker of choice. A spike troll is an easy whittlin' for beginners and grizzled old timers alike.

These things are cuter than a pail full of kittens.

Tuesday, May 3, 2011

And We're Back!


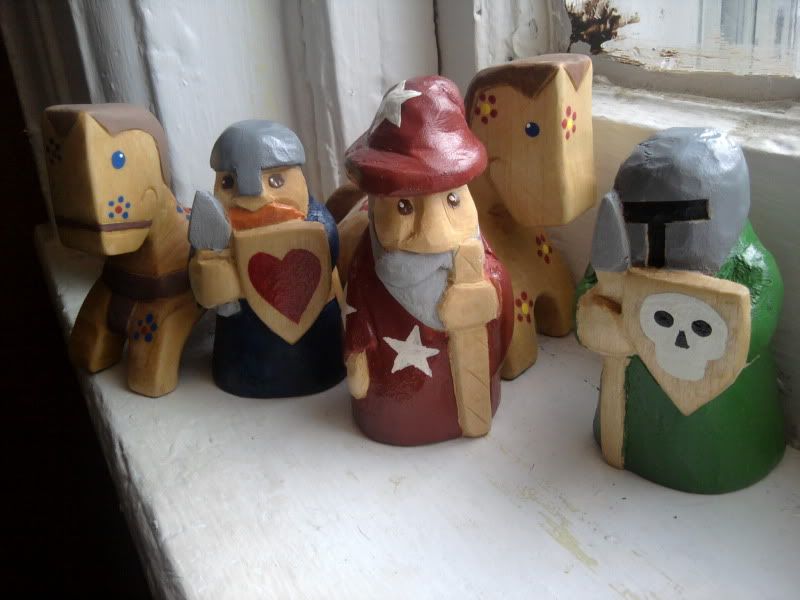
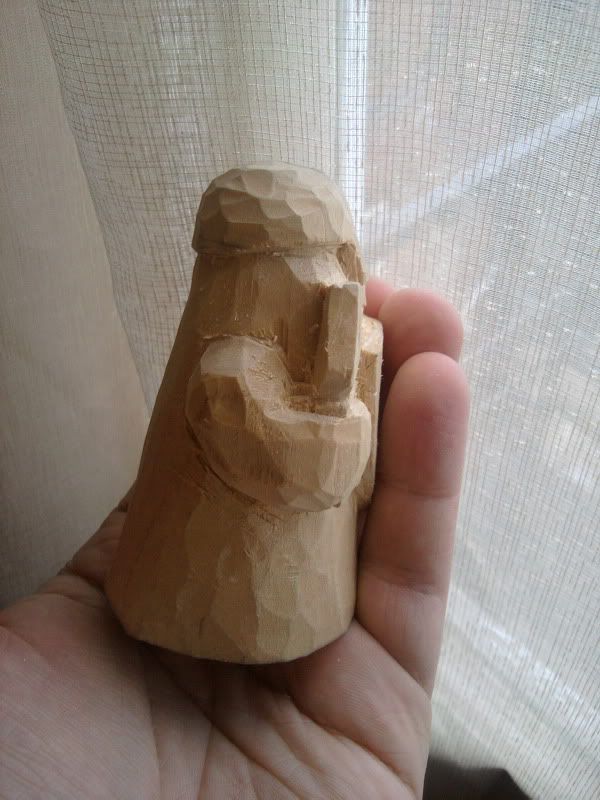
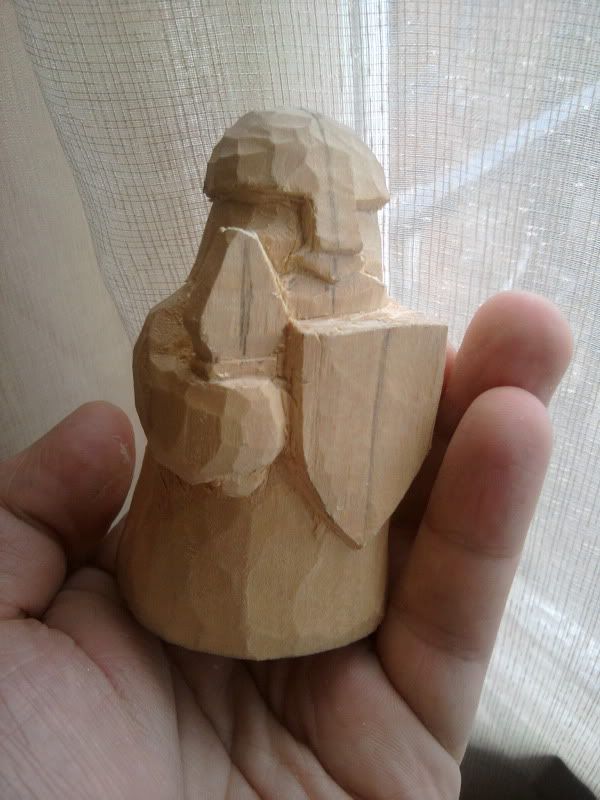
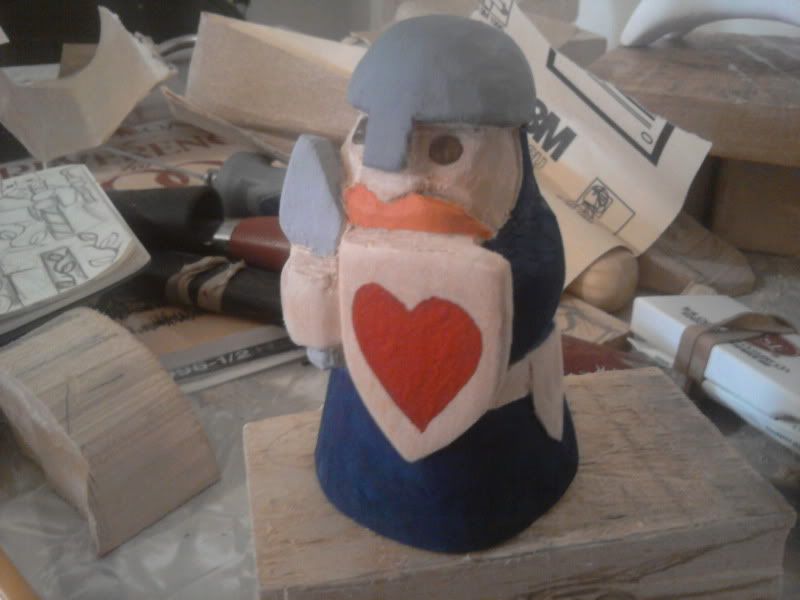
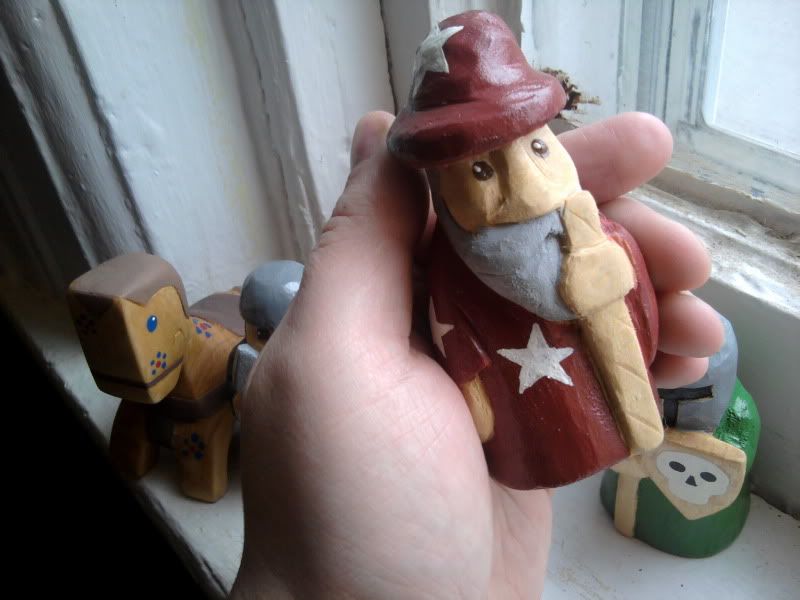
I really like carving these little soldiers and horses. As you can see in the in-hand shots, these ones are small with a wide, conical, base. This shape helps them sit very well. All edges are rounded, and everything is close in to the body to avoid breakage. Experience shows that kids love to beat up these toys, so they had better be durable!


As usual these were carved with no power tools, only a hand saw to get started and a knife for the bulk of the work. After sanding and painting each soldier is given a few coats of shellac, while the horses are finished with salad bowl finish and acrylic accents.


Thanks to everyone who patiently waited for an update. It has been far too long. I've made a bunch of whittlins, so more updates are on the way!