Wednesday, August 31, 2011

Carving While Camping


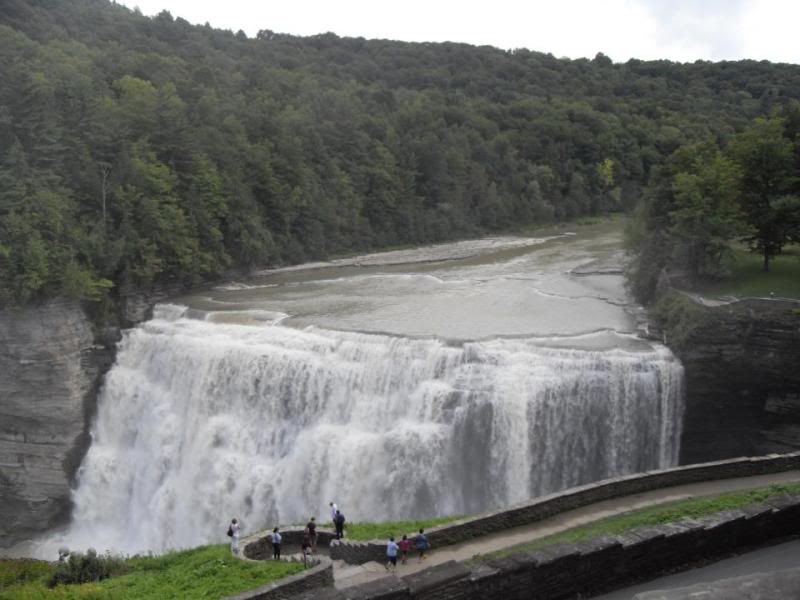
This past weekend saw me camping out at Letchworth State Park, known as "The Grand canyon of the East." It's a beautiful place, and every visit seems better than the last.


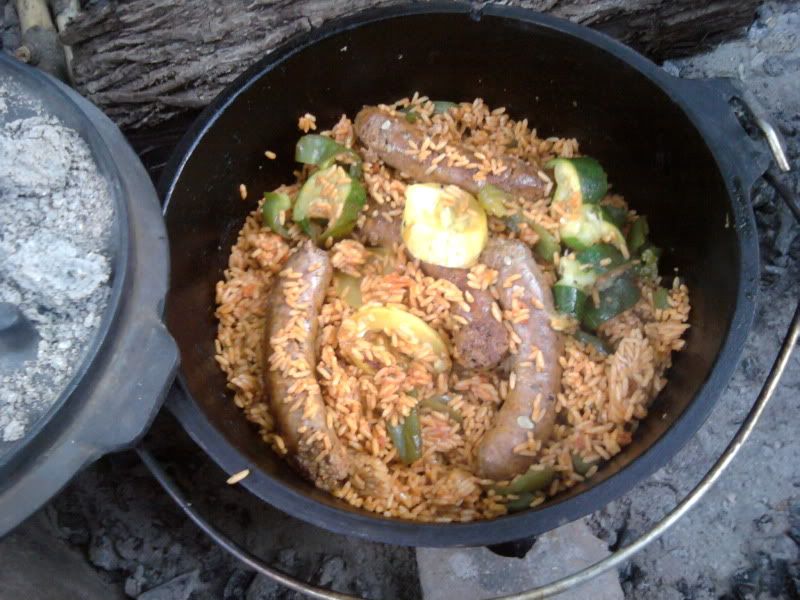
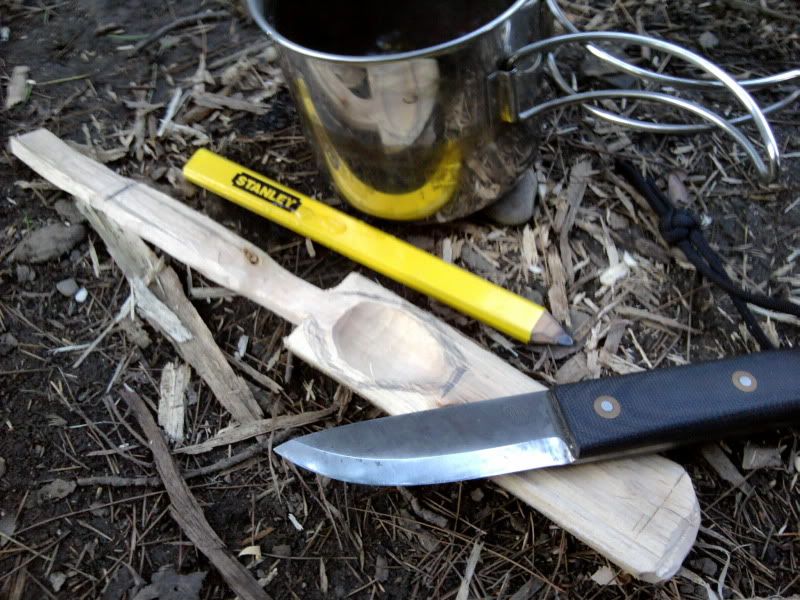
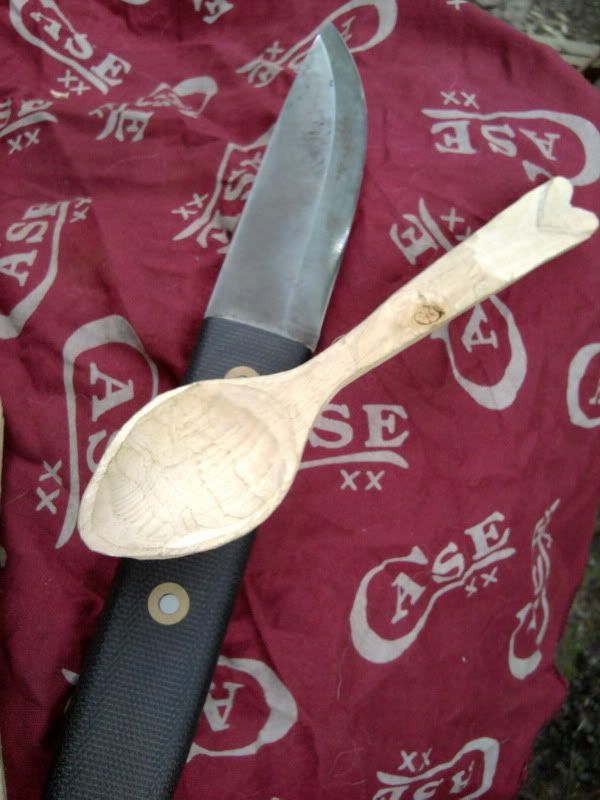
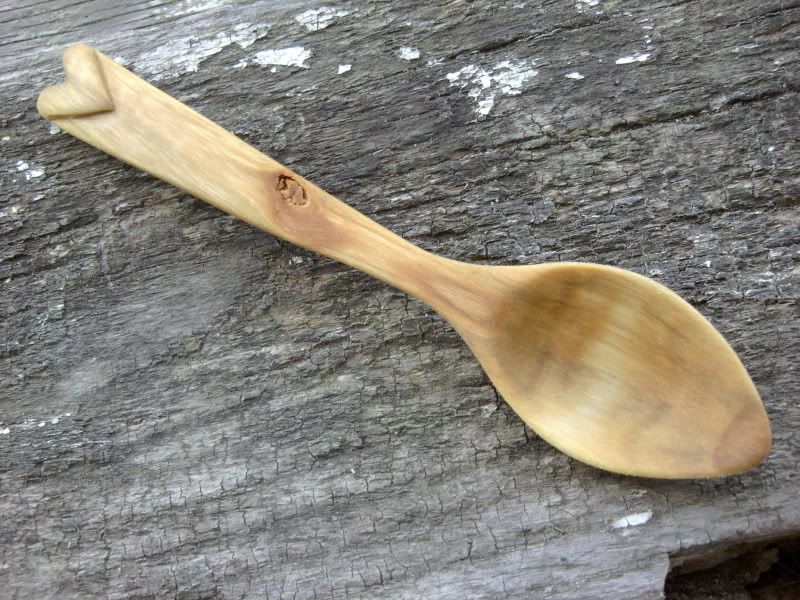
Between hikes, cooking, and just relaxing, I managed to carve a pair of spoons. The wood used was birch.


If you have the chance, give Letchworth a visit! I plan to get back there very soon.


Thursday, August 25, 2011

Two birch teaspoons


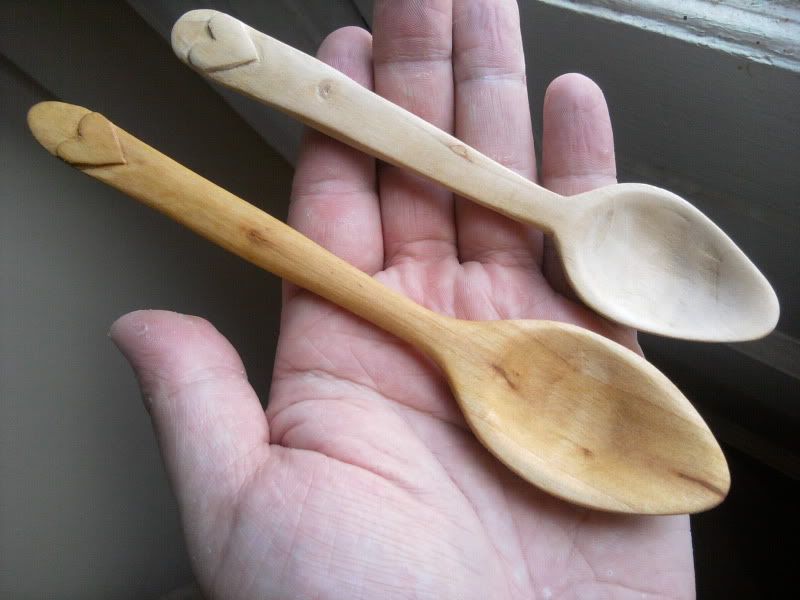
Aah, the difference a stain makes! These spoons are both whittled from the same piece of birch wood. I stained the darker spoon with salad bowl finish, while the lighter one has a coat of clear finish.

Sunday, August 21, 2011

A teaspoon for Sarah


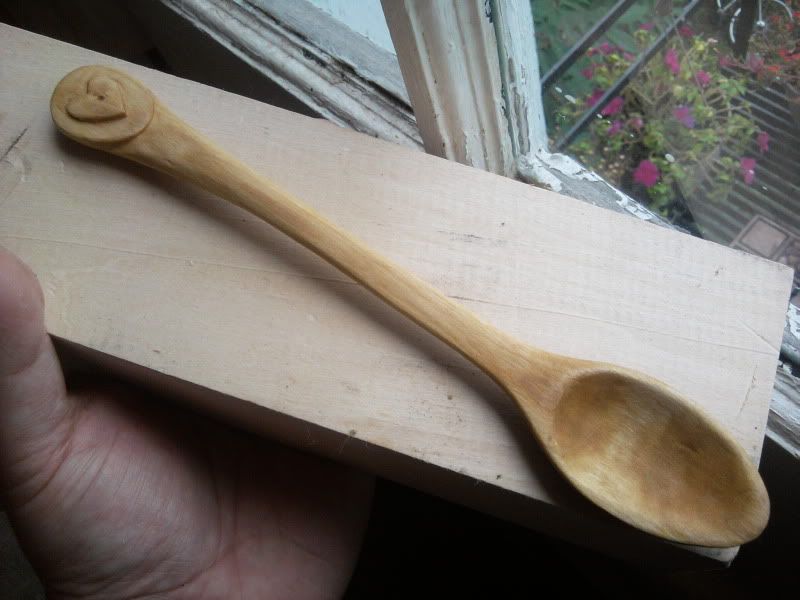
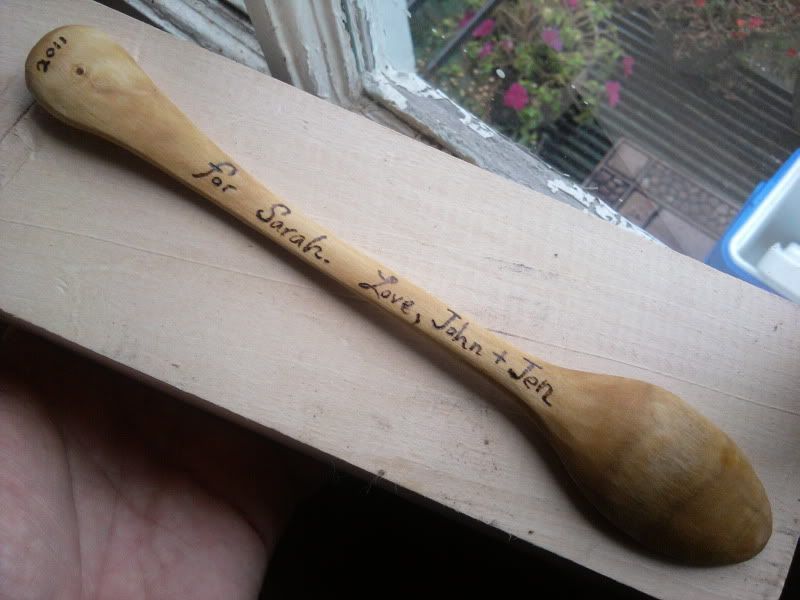
Our friend Sarah should be surprised by this teaspoon. It's not her birthday or any "special" occasion, but that's always been my favorite time to bring a gift to a friend.


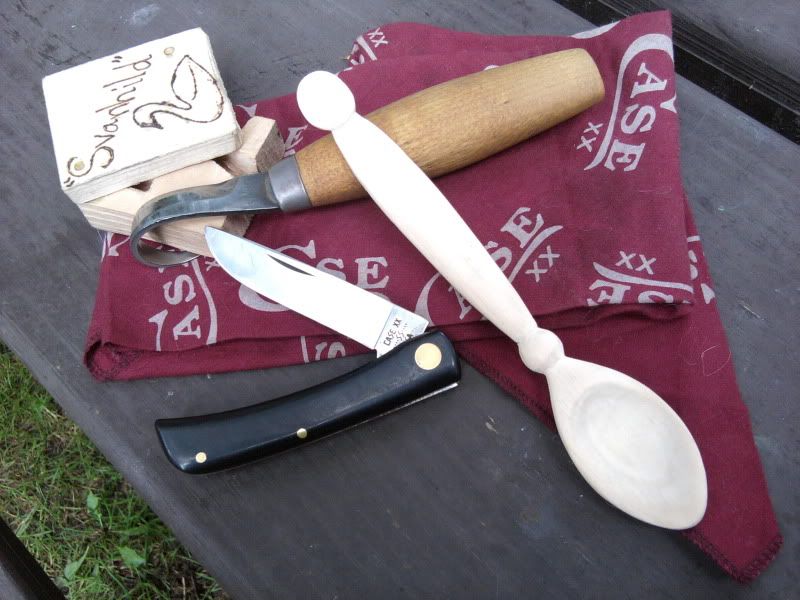
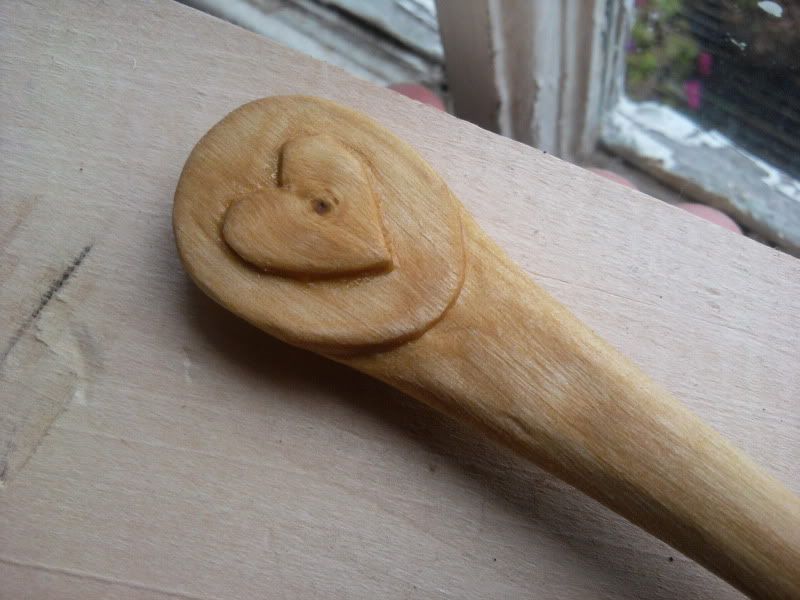
I carved this spoon from birch using only my crooked knife "Svanhild," and finished it with a soak in salad bowl finish and a topcoat of butcher block oil. The dedication was applied with a woodburner.


Sunday, August 14, 2011

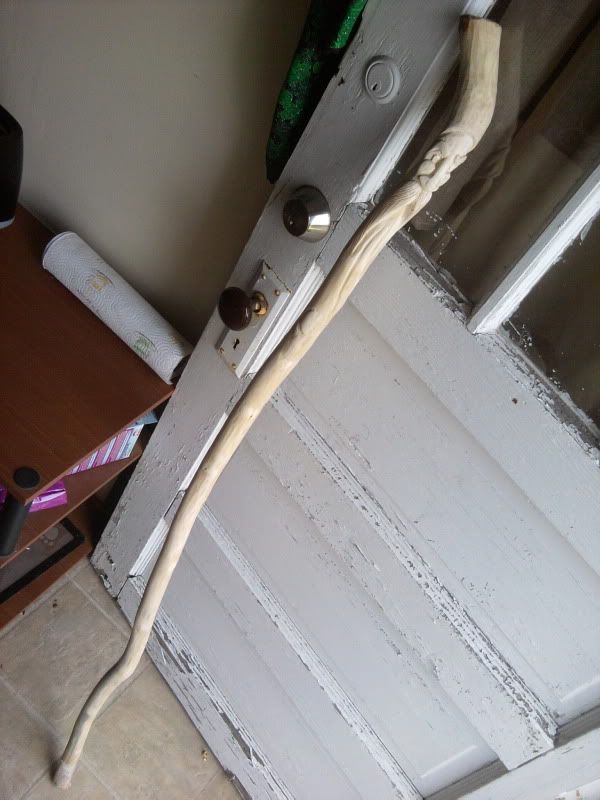
WIP: Wizard Face Walking Stick in birch


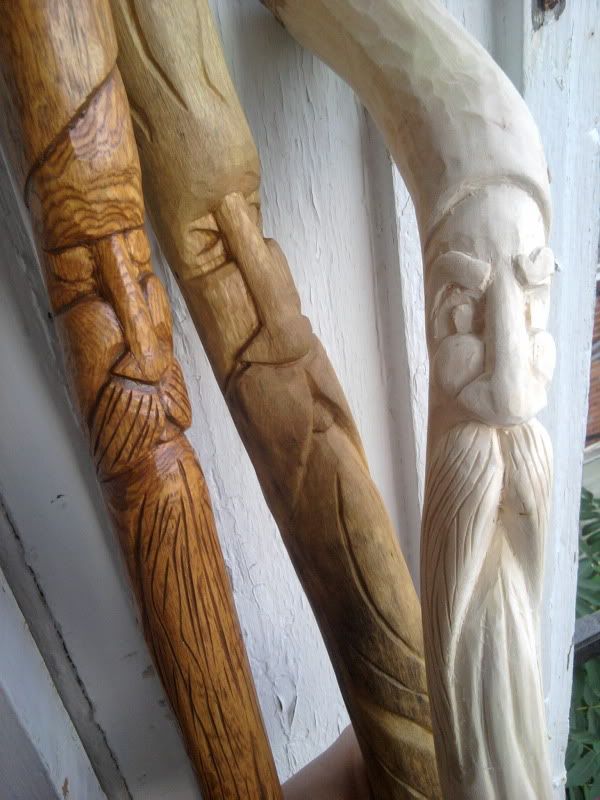
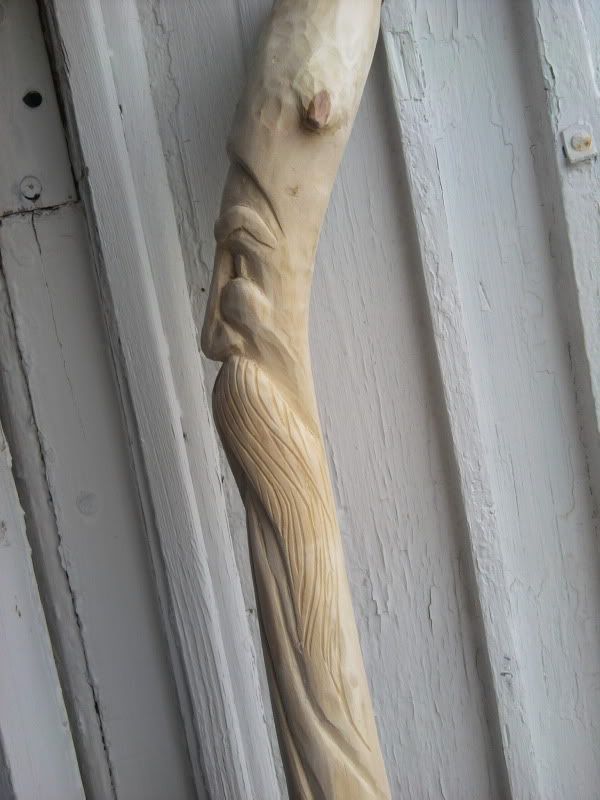
As woodspirits go, mine are carved a little deeper with an emphasis on long mustaches and beards. I see these guys as more wizards than spirits. This lighter colored one is birch, a wood I've found quite easy to carve.


I'll give it stain of some sort, though I do like how it looks right now. Maybe just a clear finish then? Either way I'll also cap the tip with either a flat or pointed metal piece. This one might have room for a lanyard too. I love the way the stick curves from the back of the head up to the top. It seems to provide a natural handrest.

Saturday, August 13, 2011

The tiny little birch kuksa


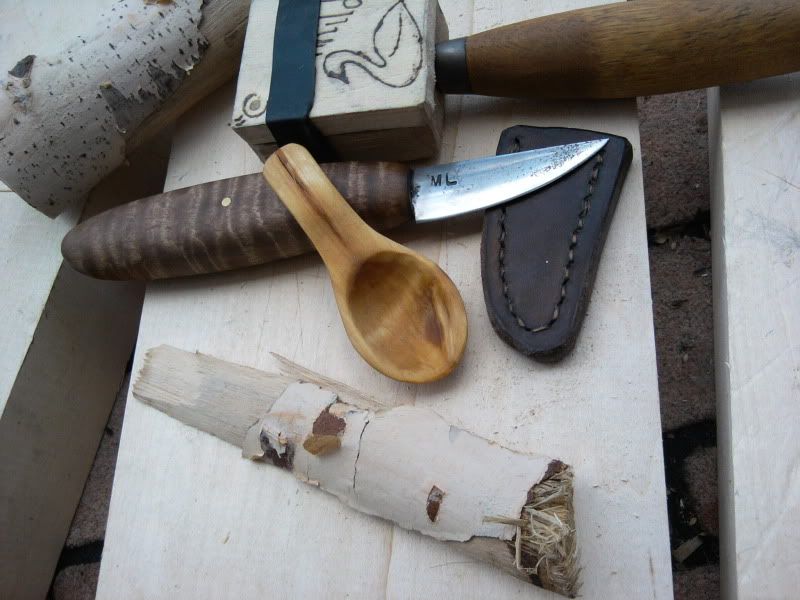
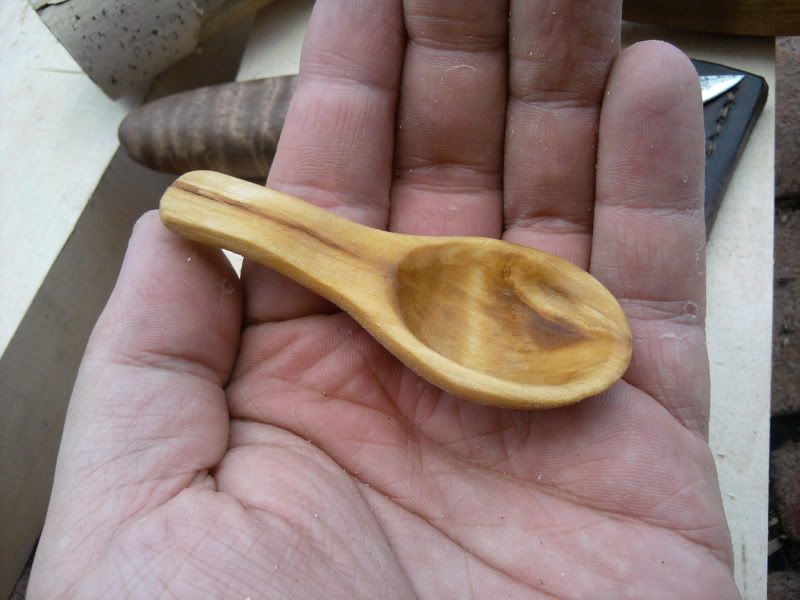
I'm having a blast carving this birch wood! This micro kuksa might end up a necklace pendant or maybe some sort of decorative ornament. It's smaller than a teaspoon, and the long handle lends itself to some sort of necklace attachment. It was whittled from birch and soaked in linseed oil. Displayed next to some untreated birch, you can really see the difference the oil makes.

Thursday, August 11, 2011

One for The Sharpened Axe


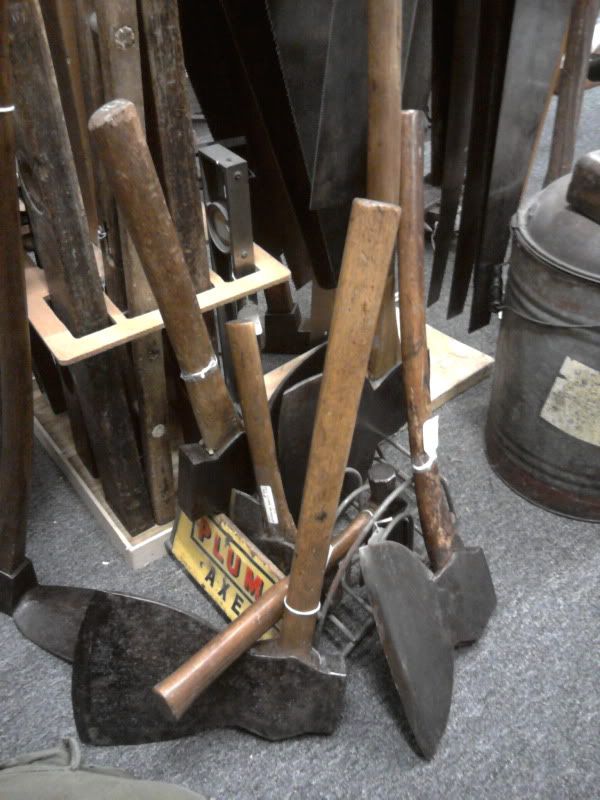
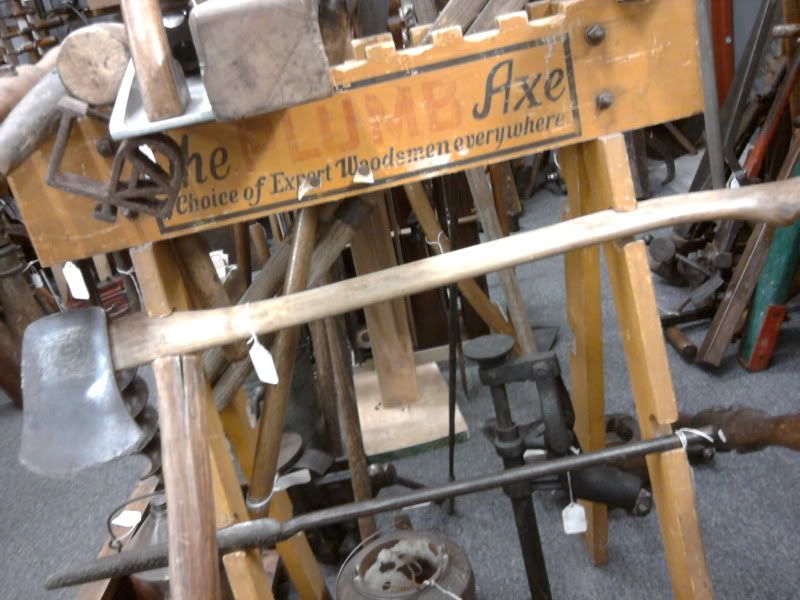
Attention: Mike Oscar Hotel @TheSharpenedAxe: I found a large antiques mall today. One section was devoted entirely to old hand tools. It was terrific! I picked up my first hand auger, but I'm sure I'll return to buy an axe, a plane, a saw, an adze, maybe a drawknife or two...

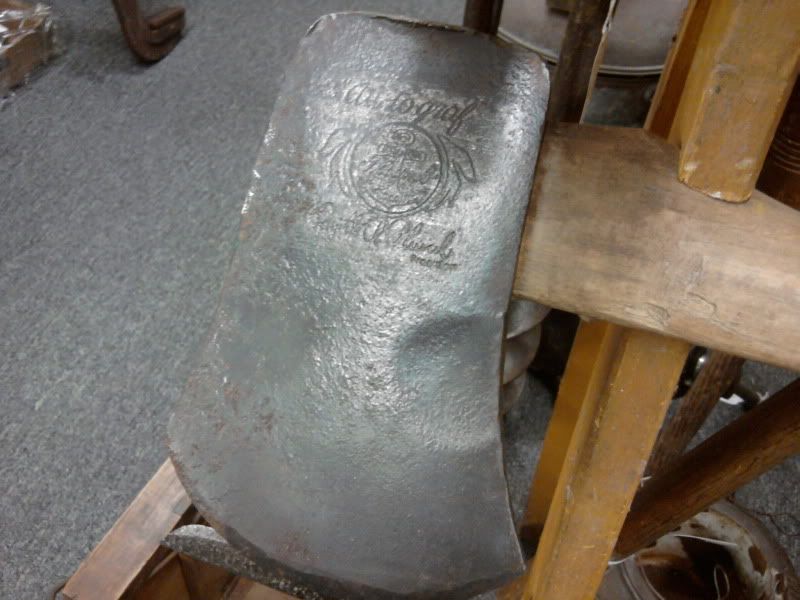
Anyway, here are some (cellphone) pics of axes. First the Plumb axe "Autograf" model.


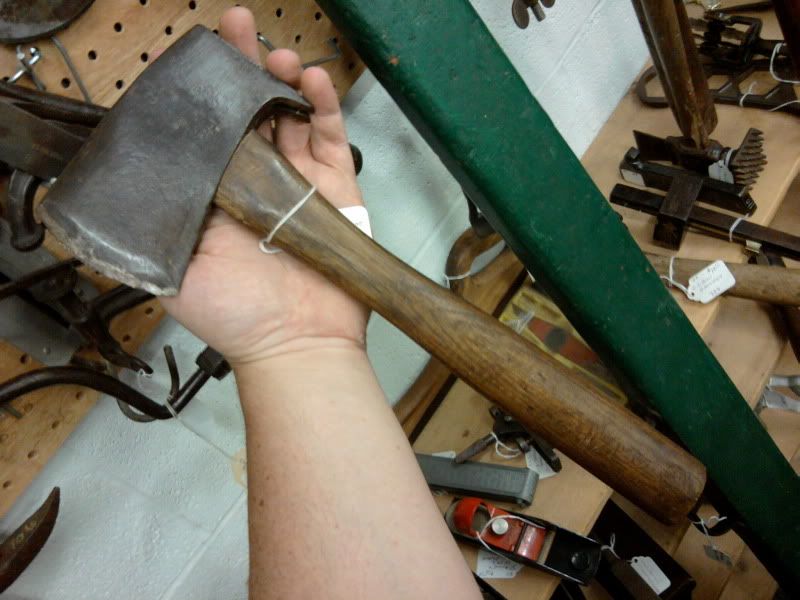
Next is a Tommy claw axe, the one with the claw.


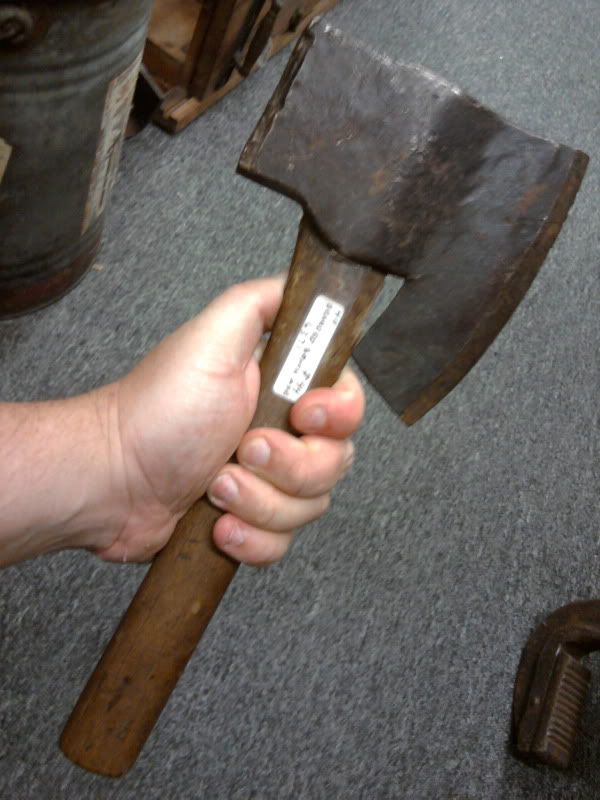
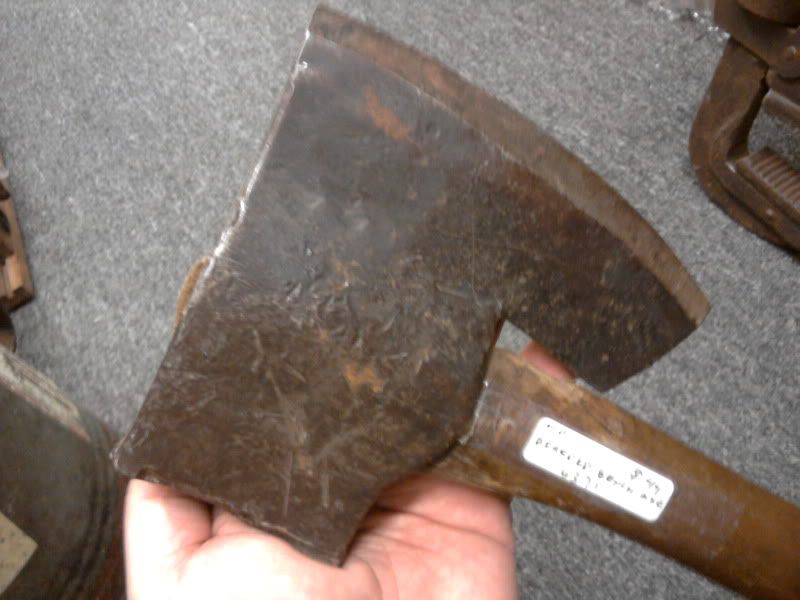
And finally an odd one, listed as a "bearded bench axe." It has a chisel grind and shows a ton of wear. I would love to know more about it and it's intended use. It was buried in a pile of large broadaxes with their beautifully bent handles (see the first pic at the top of this post.)


For those who don't know, The Sharpened Axe is one of my favorite blogs. Topics include but are not limited to axemanship,axe restoration, and general handy/outdoorsy topics. Give it a read!

Friday, August 5, 2011

Keeping the crooked knife sharp


The crooked blade is extremely helpful when carving concave shapes such as those needed for bowls and spoons. Unfortunately, this helpful shape can be tough to sharpen on traditional sharpening stones. The best solution is to make the sharpening gear fit the blade shape. Here's what I use, and how to make your own.

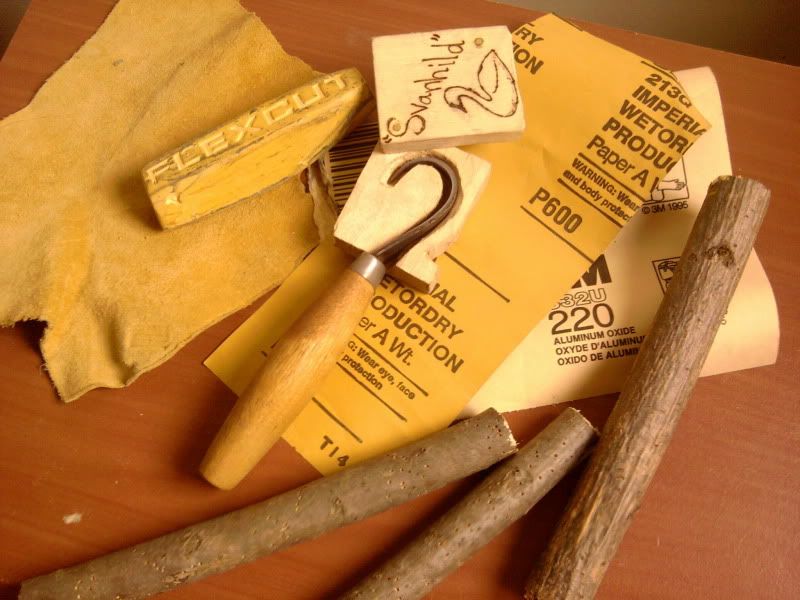
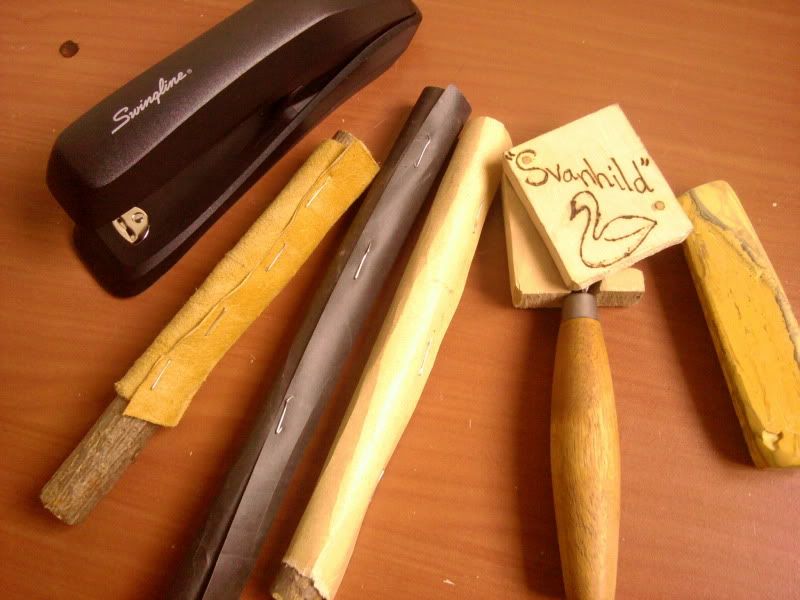
First, gather the items seen in this first photo. You'll need:
-scrap of leather
-polishing compund (I'm going with Flexcut Gold, but jewler's rouge or the like will work too)
-sandpaper of varying grits (here I'm using 220 and 600 wet/dry)
-three straight sticks about the size and shape of the inside curve of the knife blade
-stapler with staples
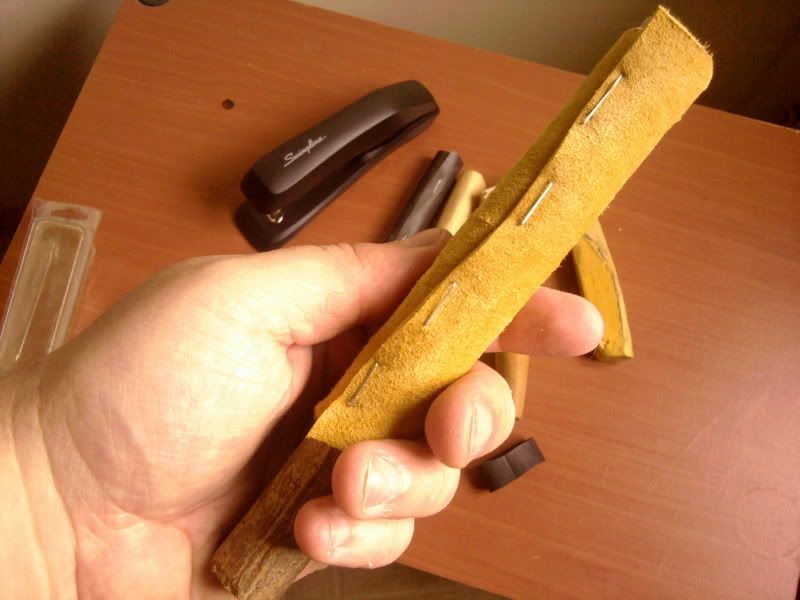


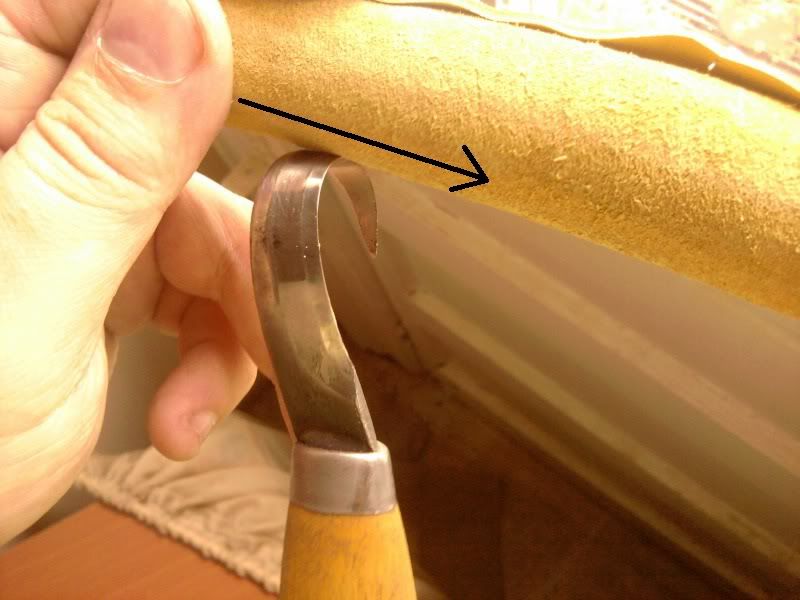
Cut the leather to wrap once around a stick, fuzzy suede side out, then staple it in place. I used a basic office stapler, but I suppose a staplegun would be even better. Apply some of the polishing compund to the leather. Do the same with the sandpaper on the other two sticks, only without any polishing compound. You now have two sharpening sticks and a strop for your crooked knife!


When using the sharpening sticks and strop, wipe them down the blade from spine to edge. Only go in this direction. Start with the coarsest stick first, then the next finest, and finally polish with the strop.
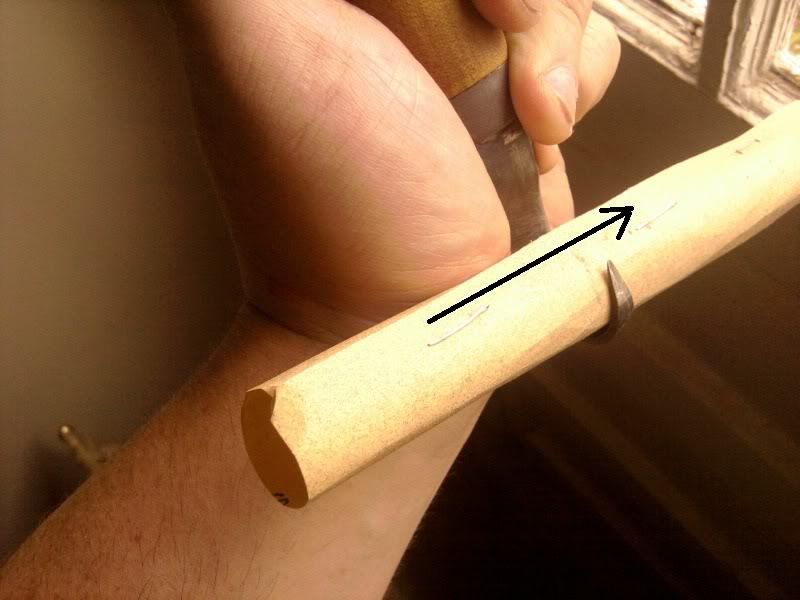


When you're done, the edge should be nicely polished and sharp enough to remove arm hairs. Careful now!
Thursday, August 4, 2011

Birch spoons and letter openers


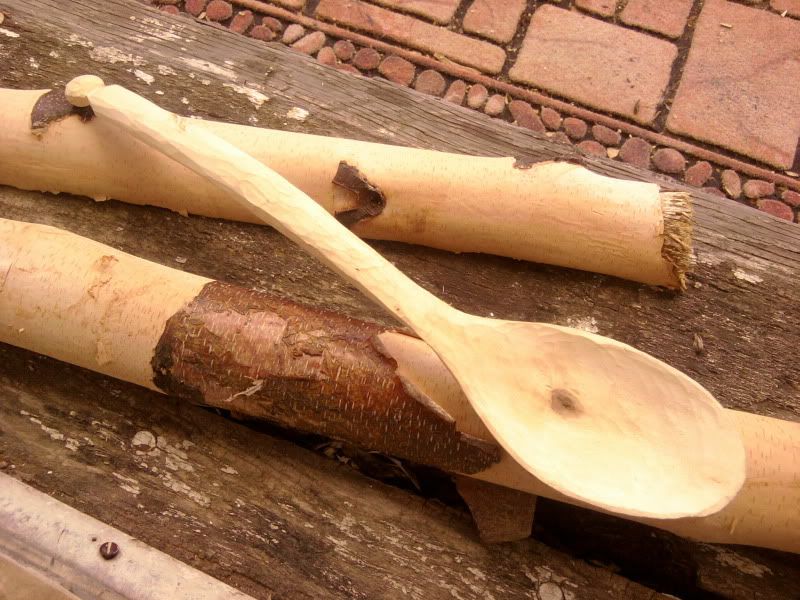
My friend Phil visited me recently, with a gift from my mom and dad: a pile of birch wood! My parent's front yard birch tree was starting to threaten the power lines, so dad did some pruning. I'm happy to report that everything I've read about this legendary wood is true.


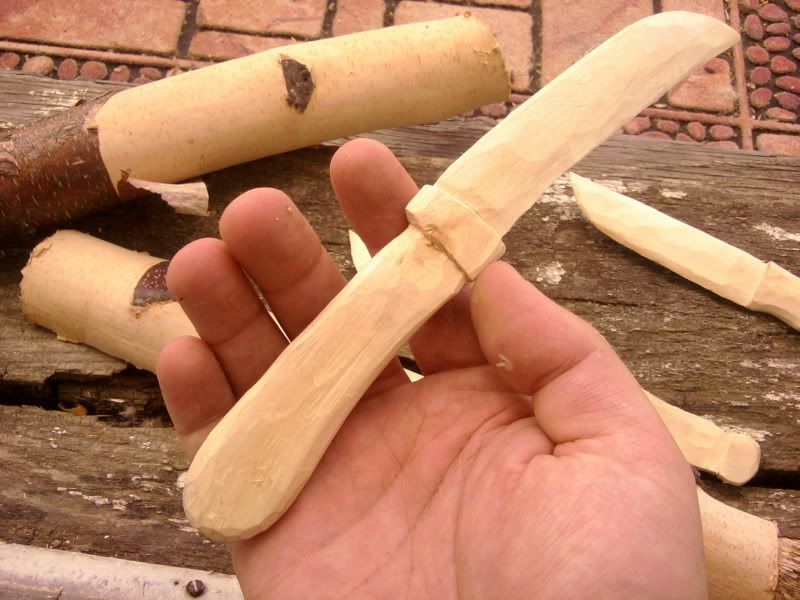
I've managed to carve some spoons, a spatula, and even a few letter openers. The grain is straight to slightly curved, with a few small knots. Those knots and flaws I've found have been easy to work with.

These still need some drying, sanding, and staining.I'll use salad bowl finish or maybe butcher block oil. I plan to use the spatula and one of the spoons when camping with my dutch oven!