Wednesday, October 31, 2012

Fancy Jack says Happy Halloween

Fancy Jack, be-monocled and smoking his pipe.


Wednesday, October 24, 2012

Dealing with sore hand muscles, cuts and calluses

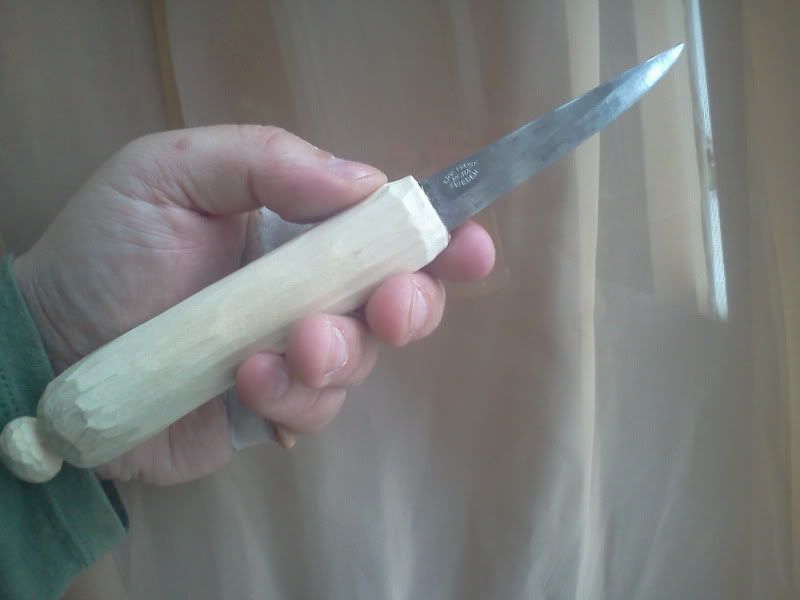
Carving will change your hands. Your off-hand, or "support hand" as some like to call it, may collect litte cuts and scars. While your dominant hand, the one you use to hold the knife, axe, or other tool, will proudly develop calluses as a result of the friction of so many hours spent shaping wood. Both hands will grow stronger as you develop muscles you never knew you had.

For cuts, I keep a first aid kit close by. Working with knives has made me an expert at treating minor cuts. It happens less often than it used to, but I still make the occasional mistake which requires a band-aid or a spot of super glue.

For sore muscles, I do two things: hold a hot mug of coffee or tea, and take breaks for stretching. Like a runner stretches his or her leg muscles, a carver must stretch those muscles in the fingers and hand. This should be as routine as stropping your knife blades. At the end of the day, an application of Mineral Ice can help as well.

Steve Tomlin has some great advice on hand stretching and excercise. While you're over there, check out his amazing work in green woodcarving!

Sunday, October 21, 2012

Rustic spoon rack w/Serving spoons

Inspired by the carving work of Simon Hill (which is always inspiring,) I went ahead and threw together my first spoon rack. It's rough, it's rustic, but it works. I used cherry for the rack, and green willow for the handle. The salad serving utensils are birch.

Wednesday, October 17, 2012

A little green paint, and my new whittlin' knife is all done!

Oil paint can take a while to dry, but I'm very happy with how this turned out. I hit the high areas of the knife marks with some sandpaper, giving the paint a time-worn look. A thin layer of shellac protects the paint nicely.

Tuesday, October 16, 2012

Spike Trolls whittled from fresh green Willow

I lucked out and found some willow clippings in my neighborhood. The DPW never cleans up after themselves, and I'm more than happy to haul off some free carving material! These little guys were a great way to experiment with the wood. I found this willow to be easy to carve, with no splintering at all.

Monday, October 15, 2012

WIP: Salad Serving Utensils

For this project I'm using my Frost's Mora crooked knife, and my little Brusletto whittler. Both utensils are from the same piece of birch, which accounts for the identical sway in their handles.

Friday, October 12, 2012

Taking my newly-handled whittlin' knife for a test drive

My new knife carves beautifully. Mora blades always sail through wood, and I'm pleased with the handle I carved and fixed to the steel. The blade is set straight and strong, while the handle is nice and comfortable. I've experienced no hot spots, and no "dangling pinky" effect, since this handle is longer than most. Next I plan to give the handle some color with a little oil paint.
For a test run, I carved some hearts(while my MereWere robot coffee mug looks on.) The wood used is birch from the same piece as the knife's new handle.

Monday, October 8, 2012

A hand-carved handle for my carving knife!

Here's my second attempt at giving this blade a handle. The first try, seen here, was a failure. The wood is birch, donated from my a tree in front of my parent's house. The steel is a Frost's Mora, purchased from Ragweed Forge. I made the handle more substantial this time, both wider and longer, while retaining a neutral shape which gives the opportunity for a variety of grips. Plus, the longer handle gives me more room for a full grip when doing hours of full-arm cuts (aka spike troll carving!)
I've always wanted a carving knive with a longer handle, and here it is!

Wednesday, October 3, 2012

Work in progress: Wizard walking sticks in birch

Another quick update here, as I'm in the process of completing several projects. These walking stick wizards are being carved from birch (donated from my mom & dad's birch tree.) You can see some pencil lines where I'm plannign to cut, most notably the eyes but also some lines for the definition of the wizard's beard hair.