Showing posts with label spoon. Show all posts

Thursday, April 3, 2014

Hand-carved Coffee Scoop

Here's a quick and fun carving. I needed a coffee scoop, so I made one from some scrap basswood. No finish was called for, so the scoop is ready to go!


Thursday, March 13, 2014

Wedding Lovespoon!


We got married!

For our recent wedding, I made my bride a hand-carved lovespoon. Using poplar, I made a heart-shaped bowl, and several symbols of our love and commitment to each other. I used a woodburner to apply the date of the wedding to the reverse side.


Tuesday, April 30, 2013

Mustache Mixing Spoons

Some mustache mixing spoons. Perfect for any mustache recipie!

Sunday, October 21, 2012

Rustic spoon rack w/Serving spoons

Inspired by the carving work of Simon Hill (which is always inspiring,) I went ahead and threw together my first spoon rack. It's rough, it's rustic, but it works. I used cherry for the rack, and green willow for the handle. The salad serving utensils are birch.

Monday, October 15, 2012

WIP: Salad Serving Utensils

For this project I'm using my Frost's Mora crooked knife, and my little Brusletto whittler. Both utensils are from the same piece of birch, which accounts for the identical sway in their handles.

Saturday, May 26, 2012

Wooden Pirate Serving Spoon

It's always great to see one of my spoons in use. There's something about a carved wooden face, submerged in ice tea or scooping up a side dish that just makes me smile. What would a pirate spoon stir up or serve, I wonder?

Sunday, November 6, 2011

Most recent Christmas carvings


This weekend's craft show went well, but left me with plenty of carvings. No problem, I've got some more shows on the horizon.

There's always more wood to carve!

Friday, September 30, 2011

WIP: Santa Spoons


The Christmas whittlin's continue with these Santa spoons. After carving and sanding, they'll get a light wash of paint and maybe a "dry brush" for that antique look. I'm going to make a ton of these guys.

Wednesday, August 31, 2011

Carving While Camping


This past weekend saw me camping out at Letchworth State Park, known as "The Grand canyon of the East." It's a beautiful place, and every visit seems better than the last.


Between hikes, cooking, and just relaxing, I managed to carve a pair of spoons. The wood used was birch.


If you have the chance, give Letchworth a visit! I plan to get back there very soon.


Thursday, August 25, 2011

Two birch teaspoons


Aah, the difference a stain makes! These spoons are both whittled from the same piece of birch wood. I stained the darker spoon with salad bowl finish, while the lighter one has a coat of clear finish.

Sunday, August 21, 2011

A teaspoon for Sarah


Our friend Sarah should be surprised by this teaspoon. It's not her birthday or any "special" occasion, but that's always been my favorite time to bring a gift to a friend.


I carved this spoon from birch using only my crooked knife "Svanhild," and finished it with a soak in salad bowl finish and a topcoat of butcher block oil. The dedication was applied with a woodburner.


Friday, August 5, 2011

Keeping the crooked knife sharp


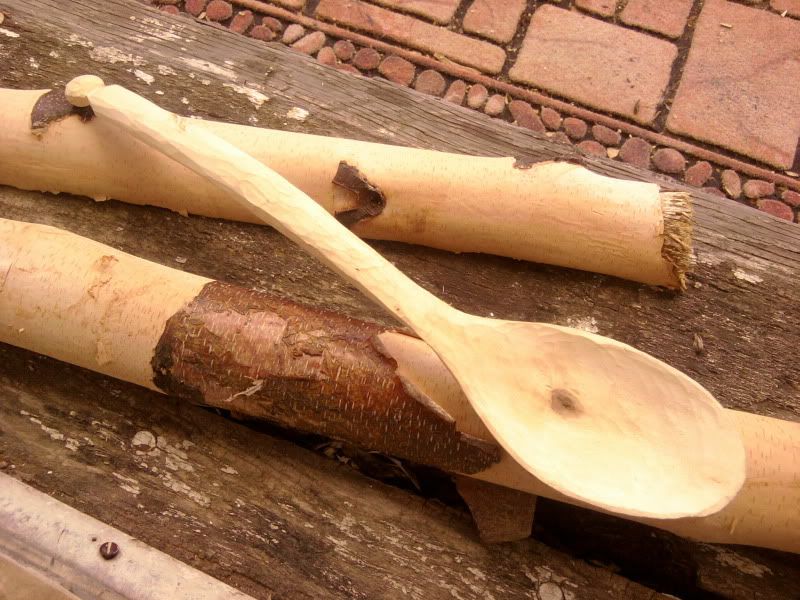
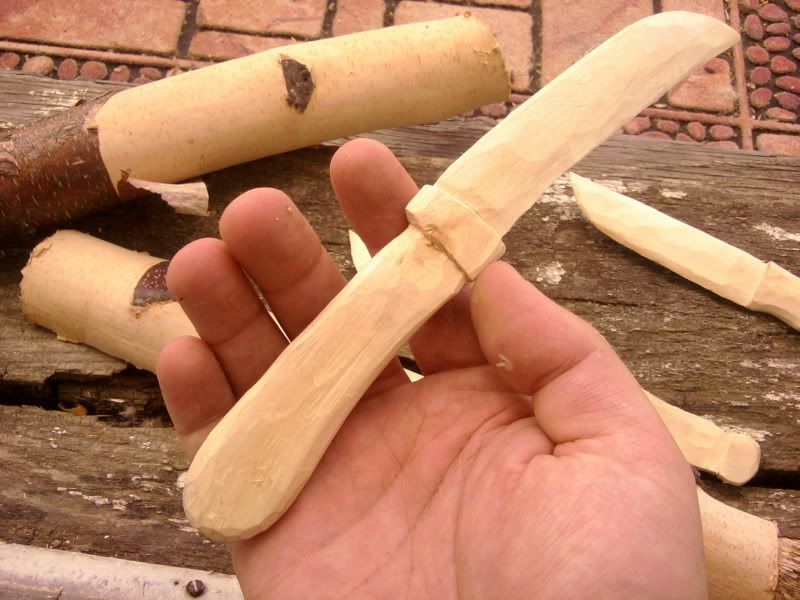
The crooked blade is extremely helpful when carving concave shapes such as those needed for bowls and spoons. Unfortunately, this helpful shape can be tough to sharpen on traditional sharpening stones. The best solution is to make the sharpening gear fit the blade shape. Here's what I use, and how to make your own.

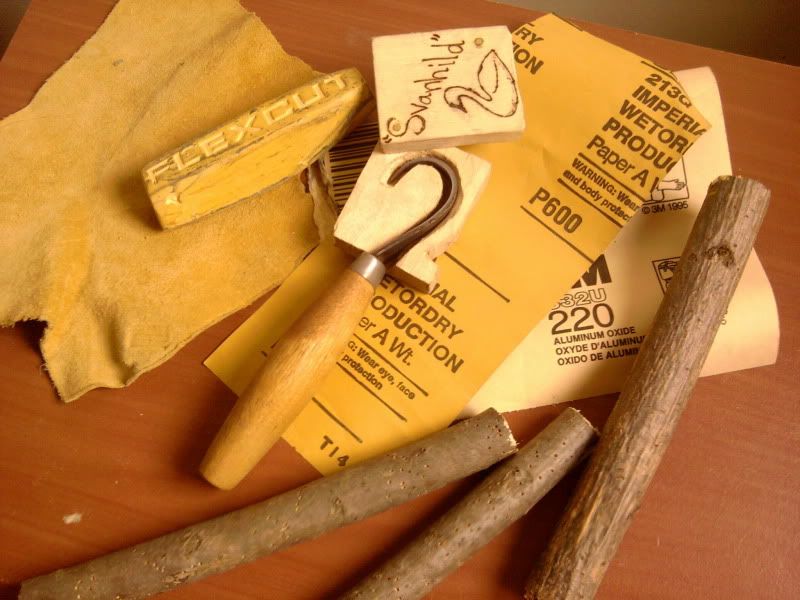
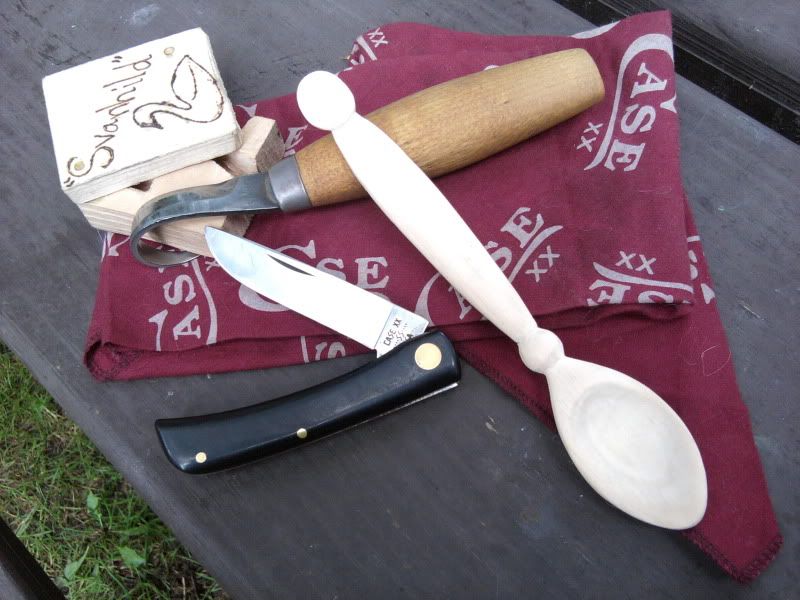
First, gather the items seen in this first photo. You'll need:
-scrap of leather
-polishing compund (I'm going with Flexcut Gold, but jewler's rouge or the like will work too)
-sandpaper of varying grits (here I'm using 220 and 600 wet/dry)
-three straight sticks about the size and shape of the inside curve of the knife blade
-stapler with staples


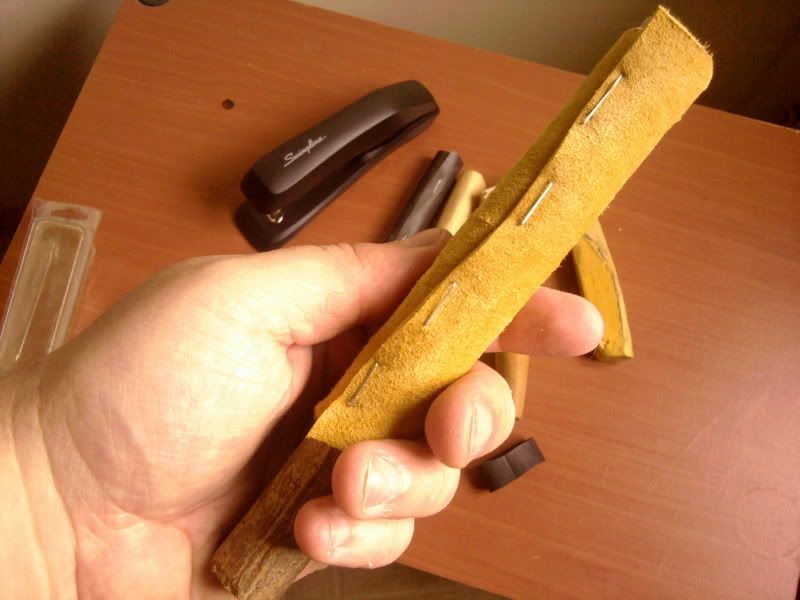
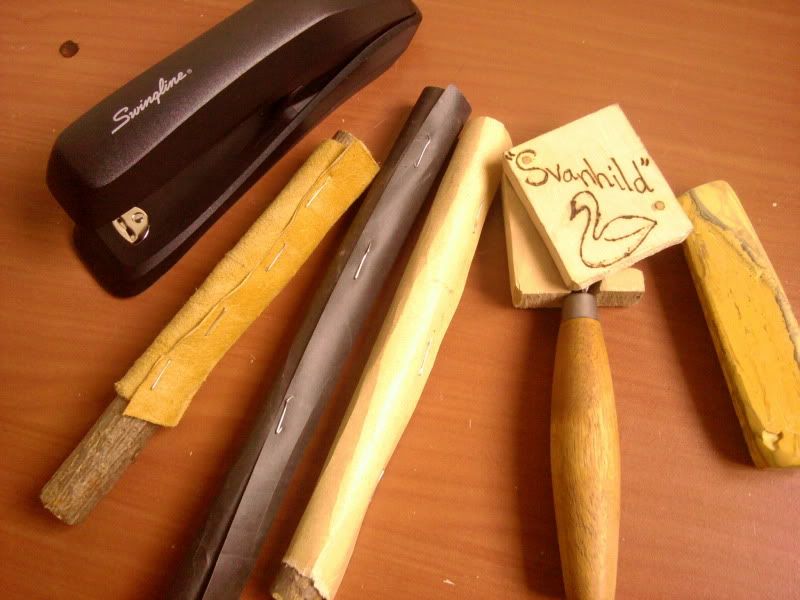
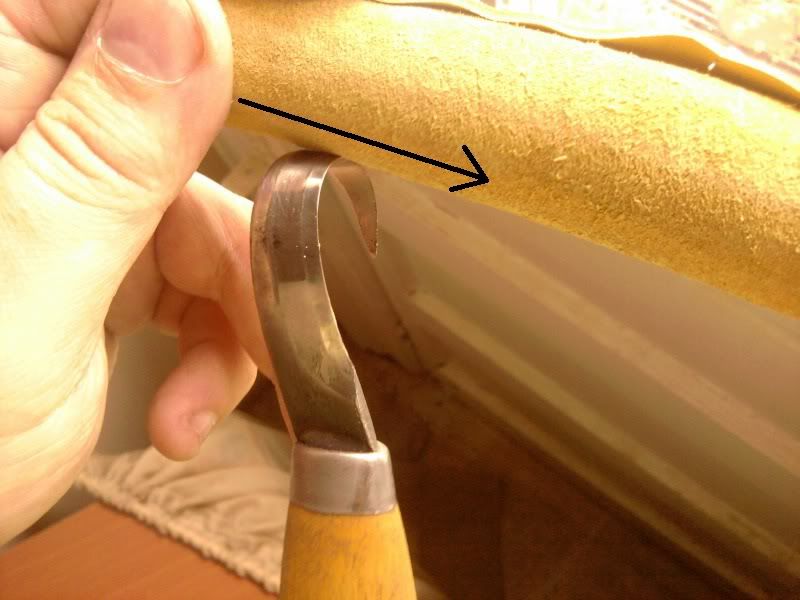
Cut the leather to wrap once around a stick, fuzzy suede side out, then staple it in place. I used a basic office stapler, but I suppose a staplegun would be even better. Apply some of the polishing compund to the leather. Do the same with the sandpaper on the other two sticks, only without any polishing compound. You now have two sharpening sticks and a strop for your crooked knife!


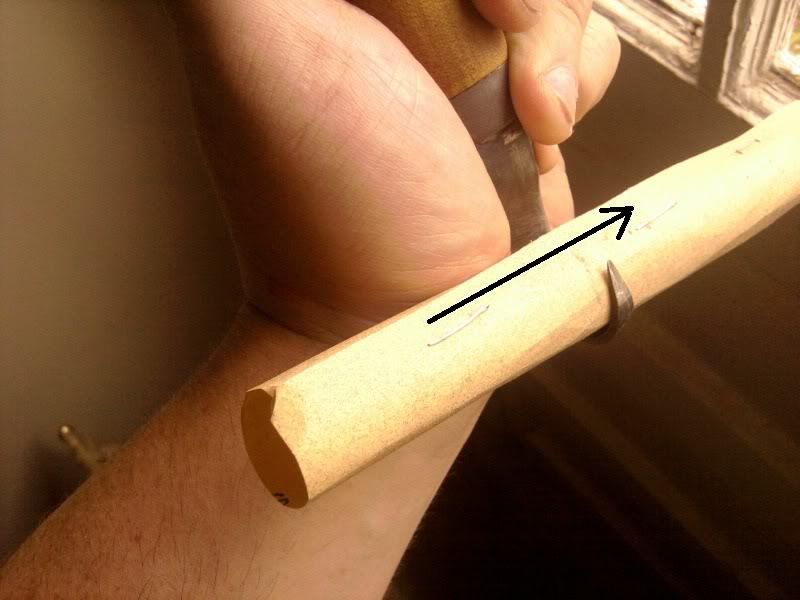
When using the sharpening sticks and strop, wipe them down the blade from spine to edge. Only go in this direction. Start with the coarsest stick first, then the next finest, and finally polish with the strop.


When you're done, the edge should be nicely polished and sharp enough to remove arm hairs. Careful now!

Thursday, August 4, 2011

Birch spoons and letter openers


My friend Phil visited me recently, with a gift from my mom and dad: a pile of birch wood! My parent's front yard birch tree was starting to threaten the power lines, so dad did some pruning. I'm happy to report that everything I've read about this legendary wood is true.


I've managed to carve some spoons, a spatula, and even a few letter openers. The grain is straight to slightly curved, with a few small knots. Those knots and flaws I've found have been easy to work with.

These still need some drying, sanding, and staining.I'll use salad bowl finish or maybe butcher block oil. I plan to use the spatula and one of the spoons when camping with my dutch oven!

Friday, July 8, 2011

The Cracked Spoon


Wood never quits. It can be a stubborn material to work with, and despite our efforts to steam, carve, chop, and saw it into shape, wood has a plan all it's own. Halfway through carving this spoon I knew it was going to split right at the bowl. I decided to continue anyway, figuring it would be a learning experience. The crack is hardly noticeable. Besides, there's beauty in the broken, right? Wabi sabi I think it's called? Sure.

Friday, June 10, 2011

Maple spoon #2


This is the second spoon I've carved from the maple batch. I'm waiting for this one to slowly dry, then I might stain it.

Tuesday, June 7, 2011

Maple spoon


Some friends gave me a pile of maple branches, and my "test" carving is this spoon. The wood is green, so carving was very easy.


Monday, May 9, 2011

The Spoonface Gang


Whittling isn't limited to sticks found in the wild. I've discovered some fine imported "sticks" in the kitchen aisle of our friendly neighborhood big-box store. The wood carves well with no chipping or unexpected splitting, and when I'm done it's a neat little gift.


I also made a Santa spoon for a Christmas present, but forgot to take a photo! I'll have to ask my friend if she can send me one.

Thursday, March 3, 2011

Shamrock baby spoon made it into an Etsy Treasury!

My shamrock baby spoon has been included in an Etsy Treasury! There's lots of green in this treasury, and even a Claddagh ring. Some nice items just in time for St. Patrick's Day. Check it out!

Monday, February 28, 2011

Lumberjack Spoon (BCUSA contest entry)


Well I didn't win, but the recent Bushcraft USA spoon contest was a ton of fun. No other spoon looked like mine, and I got some votes, which is always encouraging.

The basic idea here is a lumberjack gripping a double-bit axe with "BC" and "USA" engraved on it's head and handle. Other details include a sheathed knife on his left side and a patch sewn on his right pant leg.

Wednesday, February 16, 2011

Bushcraft USA Spoon Carving Contest

The BCUSA Spoon Carving Competition IV is happening right now! Stop over and check out the entries. This time there's 20 beautiful hand-carved spoons, in all levels of experience and many types of wood. Voting is open to any registered member, and registration is free.

While you're there, look around BCUSA. I love the Self Made Gear subforum as well as Trips & Expeditions. It's a great place to share one's love for the outdoors and despite the name, Bushcraft USA is an international community.