
Showing posts with label acrylic paint. Show all posts
Showing posts with label acrylic paint. Show all posts
Saturday, May 25, 2013
Cthulhu idol in black and gold
Friday, May 17, 2013
A simple heart w/a tiny shamrock
It's always fun to make something quickly. Clear out the cobwebs, and take a break from larger projects. This heart was carved from a small bit of scrap basswood, too small for much else.

Thursday, May 16, 2013
D&D Adventuring Party- The Thief (completed!)
The Thief is done! With a gold coin in hand, and a sly look in his eye, The Thief is the newest member of the group. Where The Fighter uses force, a thief relies on stealth, cunning, and skill.


These two will compliment each other well, but the party is not yet compete. Magic users, both arcane and divine, will form the support element of this successful group of adventurers.
Next in the Adventuring Party: The Cleric
Wednesday, May 8, 2013
D&D Adventuring party-progress
The first figure in my group of dungeon-delving heroes is done! The Fighter is the core member of any adventuring party. He's the front line, the sword and shield protecting the less martial characters.


This fighter wears grey armor under "bachelor button blue" robes, and a crimson cape to better find him on the battlefield. His shield device is a diving swallow, inspired by the neck label on a bottle of Powers Irish whiskey.
All figures in this project will wear matching gold cloak clasps w/emerald gems. The Fighter wears his on his left breast.
Up next: The Thief!
Tuesday, May 7, 2013
Mini-Mage with knife, all carved and painted!


Tuesday, April 30, 2013
Tuesday, January 8, 2013
Beer tap handles for the Olde Brick House brewery

Tap handles should be comfortable, sturdy, and attractive to look at. They should also represent something, be it a specific beer, a brewery, a bar or restaraunt, or a private homebrewer's label. I think I've accomplished those goals with these two custom-made tap handles.
These were made as a Christmas gift. The recipient is a homebrewer, and names his label "Olde Brick House Brewery" after the colonial red brick building he calls home. That set the theme for both taps, and I sketched out some ideas on my notepad.
One handle would be reminescent of brick, with a flat circle on top showing a large hop bud carved in relief.

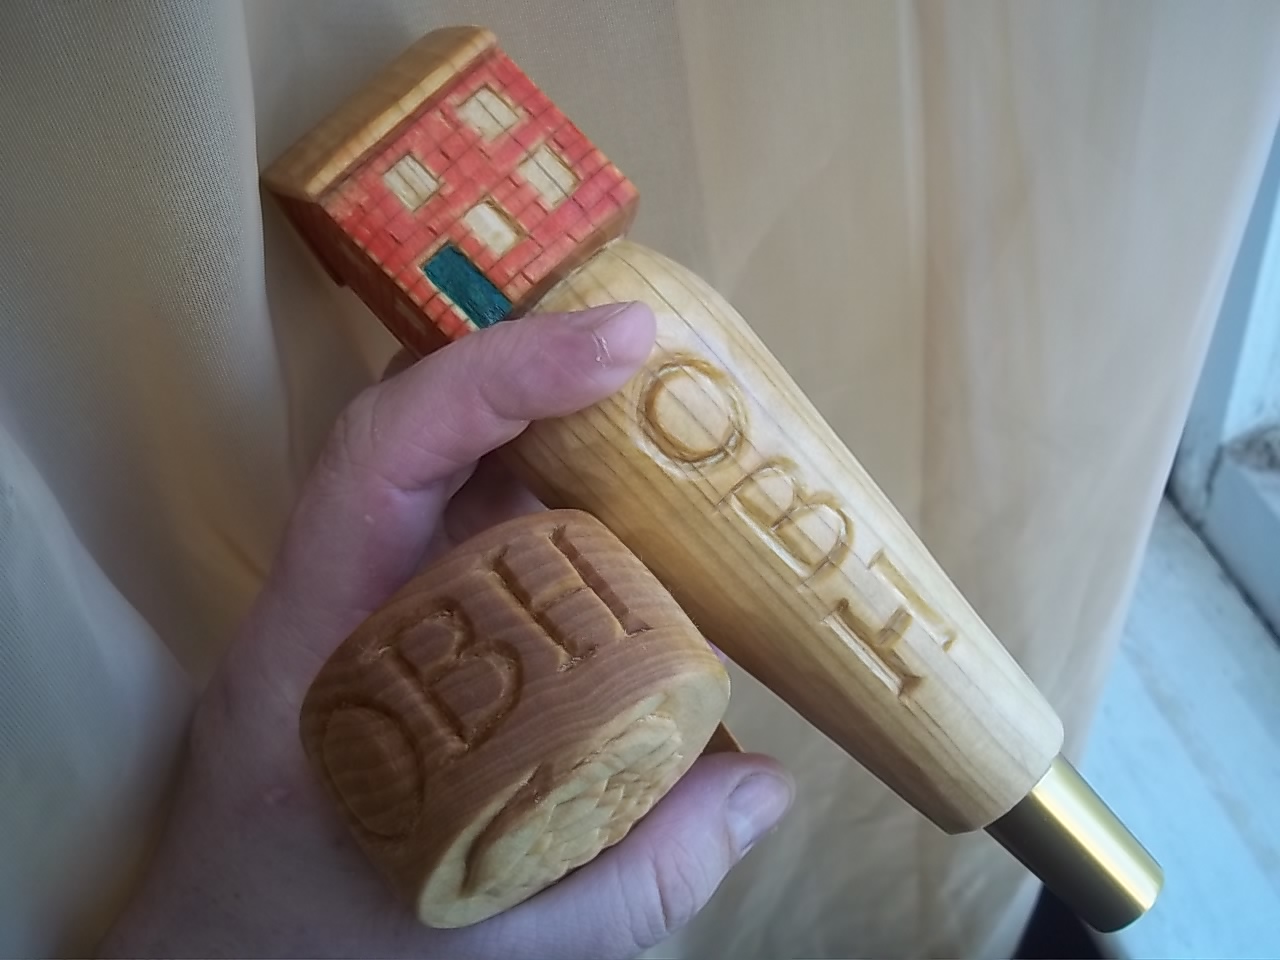
The second tap handle has a little brick house, carved in the round, and painted red with a green door. Both handles are fixed with a brass ferrule in order to attach them to the tap system.

This was a great project, and one that I'm proud to have completed.
Sunday, December 9, 2012
Red Dala horse with champagne bubbles
I really like the traditional Dala horse. This one shows it's "whittle marks," the cuts left by a good sharp blade. The color is red acrylic with blue and white champagne bubbles.


Saturday, September 29, 2012

Tuesday, September 18, 2012
How to: Whittle some Spike Trolls
Spike Trolls (a rough translation of spiketrollet, aka "carved trolls"), are a quick and easy project for whittlers of any experience level. You get to try a variety of grips, practice your cuts, and make something cute out of material you can find anywhere.
Here's how I do it, step-by-step:
1. Start with a stick of green wood, as big around as your thumb. The base end should be cut flat enough to support the spike troll on an even surface.
 2. Define the "hat" area by shaving up from the hatband to the top of the stick.
 3. Shape the "hat" into a general cone shape, allowing for curves if you'd like.
 4. Make a stop cut for the top of the "face." Shave bark towards this line to define the forehead area.
 5. Complete the face area by carving a shallow notch up to the forehead stop cut.
 6. Shape the "hat"as desired. I like to carve smooth notches representing folds in the hat.

 7. Draw the face with a Sharpie.
 8. Color the hat if desired. I use acrylic paints.
 9. The final step, of course, is to make your new spike troll a buddy!

Thursday, August 16, 2012
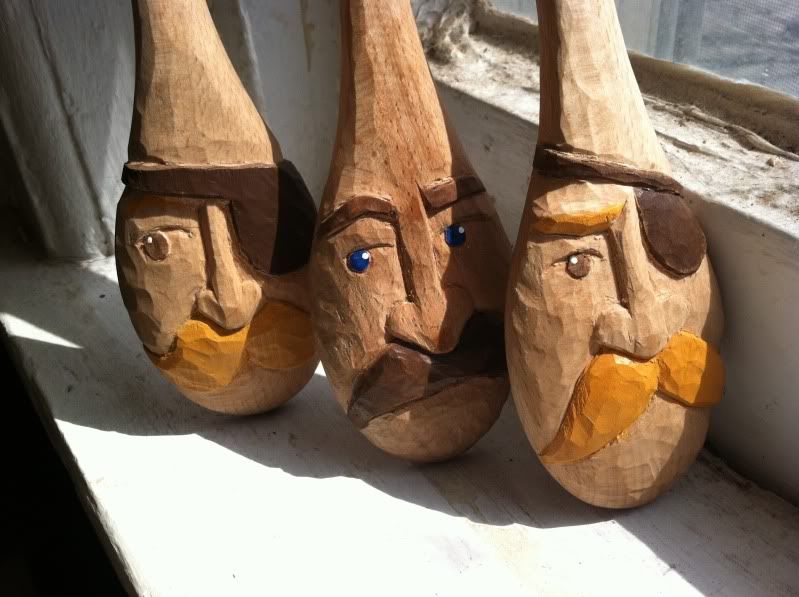
A Mahogany display for some Hand-Carved Mustaches
This mahogany block really took to boiled linseed oil. I love the way the oil darkens the wood, while giving it depth and sheen. To display both rows of mustaches I drilled the front row deeper than the back. This lets the back row sit up a little higher.


 I carved a large handlebar mustache in low relief, then painted it black for contrast with the mahogany. I also added a circle of blackboard paint with a light blue border, on which I can chalk the price. The words "Hand-Carved" are applied to one side with a woodburner.
Wednesday, July 18, 2012
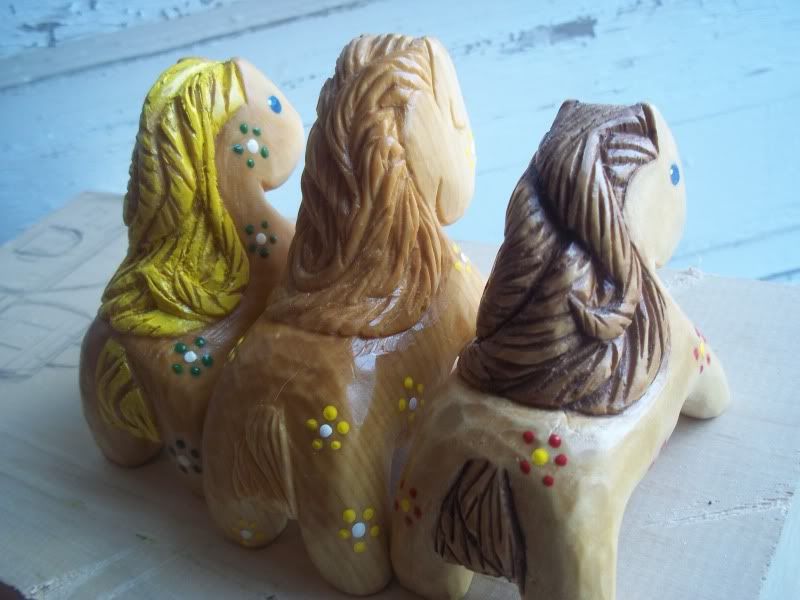
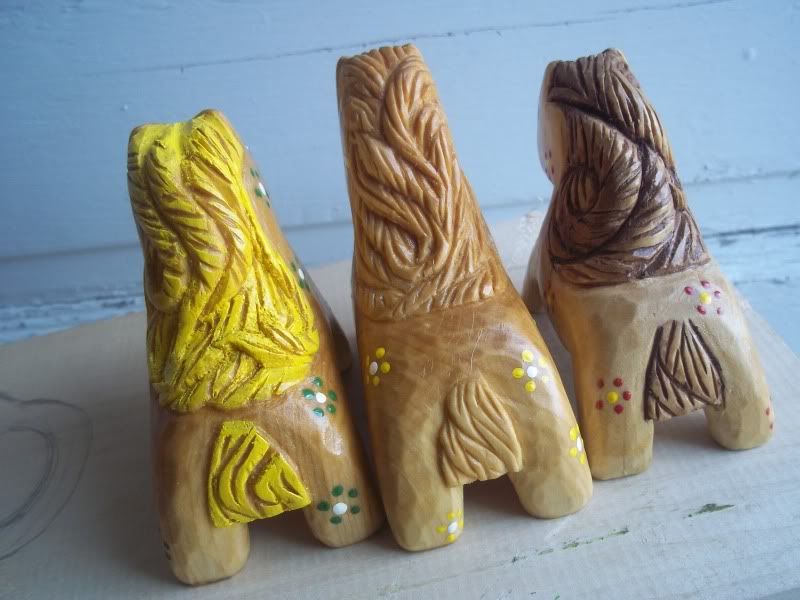
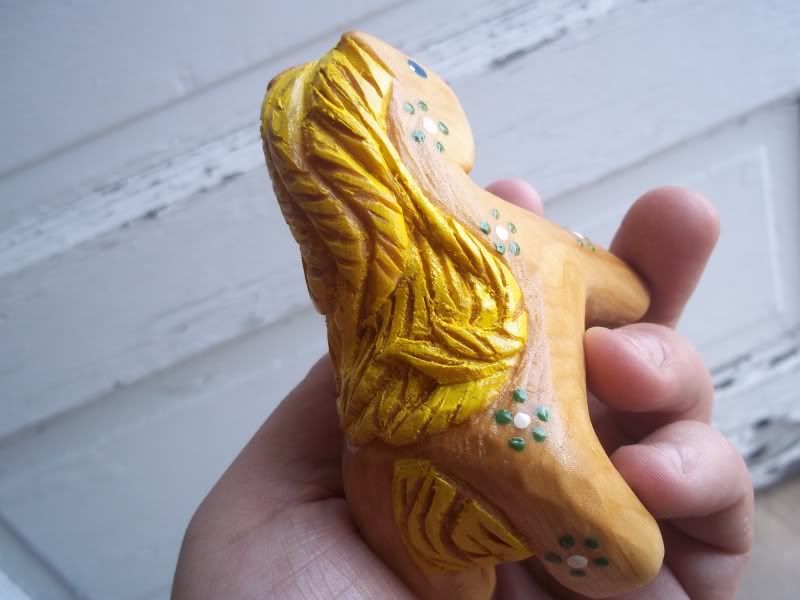
The flowing mane of a carved toy horse
I've been working on carving more detailed hair recently, and while it's time consuming, I really like the added texture it can bring to a toy. On these toy horses, it makes them look more lively and just plain pretty.

Tuesday, June 26, 2012
A carved toy horse for Nora
 I really like carving these toy horses, especially so when they're going to a friend's newborn baby. Like many others, this horse is carved from basswood using one of my Swedish Mora knives. There's more attention paid to the detail of the mane and tail than in previous horses, and I'm happy with how it came out. I took great care to soften all the edges, and gave it a good sanding. Salad bowl finish, acrylic paint, and spray shellac give the horse it's color, while also sealing it and protecting it.
The small letter "n" woodburned onto the right hip stands for Nora.
I really like carving these toy horses, especially so when they're going to a friend's newborn baby. Like many others, this horse is carved from basswood using one of my Swedish Mora knives. There's more attention paid to the detail of the mane and tail than in previous horses, and I'm happy with how it came out. I took great care to soften all the edges, and gave it a good sanding. Salad bowl finish, acrylic paint, and spray shellac give the horse it's color, while also sealing it and protecting it.
The small letter "n" woodburned onto the right hip stands for Nora.


Friday, June 1, 2012
An Old Textile Spool Carved into a Snowman
Old-fashioned textile spools are good platforms for carving. They sit up on their own, and come with a certain rustic look. This one was sent to me by a lady in Missouri, who asked me to carve it into a custom Snowman Christmas decoration.


 To fill in the carving, I placed the snowman in front of a green pine tree. A light sanding left strong whittle marks, and after painting I gave it another pass with some high-grit sandpaper for an aged look.

Wednesday, May 30, 2012
A whole mess o' spike trolls
Spike Trolls ahoy!


 The Spike Trolls, from "spikketrollet" ("carved trolls" in Norwegian), are fun and easy to carve. Perfect for your first whittlin', and good for keeping the calluses strong, all you need is a stick and a knife (a Sharpie is handy for drawing the face.)

 I like to paint the hats, but they're just fine in their natural wood color.
Subscribe to:
Posts (Atom)
